How to Make a Christmas Spider Ornament
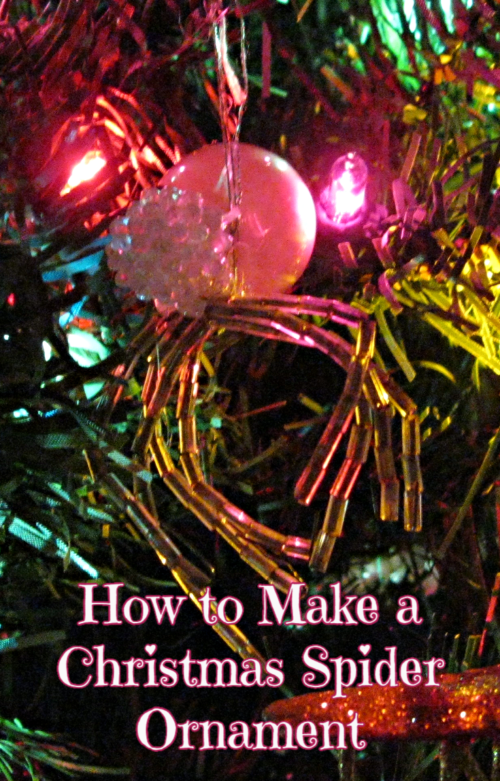
 Our Christmas spider is usually the last ornament placed on our Christmas tree. I made the Christmas spider for my son when he was 5 or 6 years old. He loves spiders! As soon as I saw the ornament, I knew I had to make one for him.
It is hard to believe that was over 25 years ago! Our Christmas spider has required a simple repair once since the day of his creation, but otherwise, he has survived quite well.
Each year, the spider patiently awaits my son’s arrival home for him to hang his spider in a place of prominence on our Christmas tree.
When he first started hanging the spider on the tree, it hung much lower on the tree, at his eye level. However, now it is close to the top on the front of the tree. Still at eye level for him.
He loves that spider!
The Legend of the Christmas Spider
 While I made our Christmas spider for my son simply because he loves spiders, there is actually a Christmas legend about the origin of the Christmas spider.
According to legend about the spider’s gift:
A poor woman had no decorations for her tree. A spider who had hidden in her tree while avoiding her dust mop, watched as the woman prepared for Christmas. Wishing to be a part of her celebration, the spider crawled all over the tree that night, leaving behind the trail of a beautiful web. When the woman and her children awoke the next morning, they discovered the spider’s gift of a valuable silver web adorning their tree.
It is considered the origin of Christmas tree tinsel and a symbol of good fortune.
Also according to current Christmas tradition, the Christmas spider represents the homeowner has finished decorating for Christmas and is ready to receive guests.
Directions to Make Your Own Christmas Spider
Supply List:
I used all silver & pearl glass beads, but the exact beads I used are no longer available. You can use any color(s) you desire. Use the directions below for the proper sizes.
Tools Needed : Measuring tape or ruler, Needle Nose Pliers, Wire Cutters or Sturdy Scissors
 18mm or 20mm pearl bead (with holes)
- 14 mm pearl bead (with holes)
- Large bead cap (select to fit large pearl size above – years ago, I did not use one but I would now)
- 146 2.5mm silver beads or short bugle or tube beads
- 30 gauge silver jewelry wire
- Silver cord or heavy thread for hanger
Instructions
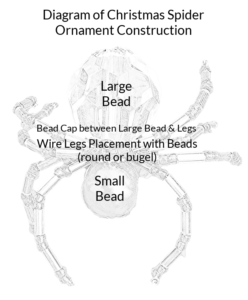
- Making the body: Cut and 18″ piece of wire
- Center a small silver bead on the wire and bind wire in half
- Slip both ends of the wire through the 18mm pearl, bead cap, 14mm pearl then a second silver bead
- Bring the wire(s) back through the 14mm pearl. DO NOT CUT. The wires are two of the spider legs.
- Cut three 18″ pieces of wire.
- Center the wire legs between the two large pearl beads and twist around once to hold in place. There should be 4 wire legs on each side of the pearl spider body.
- Complete one leg at a time by slipping 18 small silver beads onto one leg wire. Bring the wire around the last bead and back up through the other 17 beads. Twist the leg wire end once around and between the body pearls to secure. Then clip the ends.
- Repeat step 7 until all eight legs are complete
- Make a Hanger with a 6″ piece of cord and tie between the body pearls. Tie the cord ends together to complete the hanger.
Pearls Beads, LOLASATURDAYS 144pcs 18mm Pearl BeadsCheck PriceLolasaturdays Pearls 1-Lbs Loose Beads vase Filler (18mm, Ivory)Check PriceCraftdady 2.5mm Silver Tiny Round BeadsCheck PriceBeadalon (1-Pack) Artistic Wire 30 Gauge (.26mm) Silver Plated Tarnish ResistantCheck Price


One Comment
Kim Miller
How fun! My kids would be freaked out lol….they do not like spiders haha….