
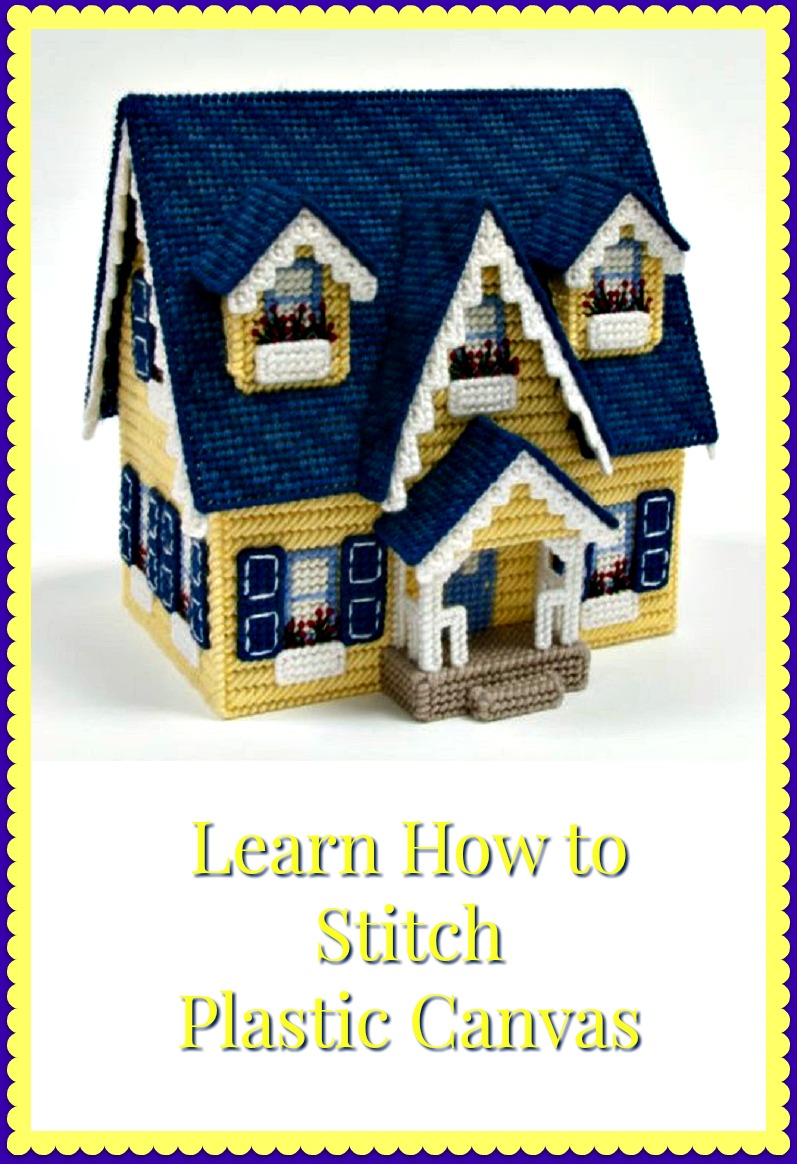
Plastic Canvas Tutorial
 Plastic Canvas is exactly what it sounds like. The canvas you are stitching on is a plastic grid. The stitch itself is a very easy needlepoint Continental Stitch, which is honestly just half of an cross stitch or half of an X.
Worked on the plastic grid, the stitch looks like it is stitched over the corner, or intersection, of each “box” on the grid.
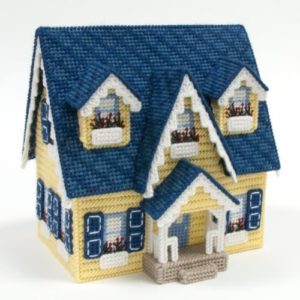
Take a close look at the finished house on the left. You can easily make out the lines of stitches.
As you can see for yourself, the diagonal stitches look like a row of forward slashes:
////////////////////////////////////////////////////////////////////////
This is What a Plastic Canvas Sheet Looks Like
You can easily see the grid in this photo.
Plastic Canvas sheets come in a variety of colors. Therefore, you can select the background color for your project. If you purchase a kit, the plastic canvas sheets or squares are normally included in the kit. You would need to cut the plastic canvas into the shape indicated by the pattern.
Plastic Canvas Sheets 10-1/2″x13-1/2″ – Assorted (pack of 12)
&
You can make all kinds of beautiful home decor such as Kleenex boxes, centerpieces, wall hanging & banners, memory boxes, ornaments, coasters and so much more! Since the canvas is plastic, it is pretty durable and sturdy. It is somewhat flexible, but definitely holds the shape of the pattern design. This allows stitched pieces to stand firm separately, or when the edges are sewn together.
As with most needlework, a pattern will give you a list of yarn colors, as well as a detailed diagram to follow when stitching. A kit will most often contain everything you need except scissors to complete a project.
Yellow Cape Cod Plastic Canvas KitCheck PriceBirdhouse Plastic Canvas Tissue Box KitCheck PriceCounted Cross-Stitch Kit on Plastic Canvas with ViolasCheck PriceNoah’s Ark Plastic Canvas KitCheck Price
&
Plastic Canvas for Beginners
Plastic Canvas for Beginners
Any needlework beginner needs to start with a small project in order to master the basics of the craft. Plus, they will quickly feel a sense of accomplishment. After you are more comfortable and confident, you will want to move on to a more elaborate project.
For beginners, I recommend Christmas tree ornaments. They can double as gift tags or could also be given as the actual gift. Making several ornaments will give you plenty of practice before you endeavor to tackle a larger project like a centerpiece, box or wall hanging. Another excellent beginner project is refrigerator magnets. Clearly, they can be used year round.
You can purchase a book of patterns, the plastic canvas sheet and the recommended yarn. Or, you could simply buy a kit that already has all of the supplies gathered for you. If you can find a kit you love, they really are much easier in the beginning. Frankly, even as an experienced stitcher, I still prefer the convenience of a kit.
Seaside Magnets (8455241) (The Needlecraft Shop #845524)Check PriceTobin Country Christmas Ornaments Plastic Canvas Kit, 7 CountCheck Price4 Pcs 7 Count Plastic Mesh Canvas SheetsCheck Price150 Extra-Easy Ornaments in Plastic CanvasCheck Price
&
How to Finish a Plastic Canvas Edge
When you have finished stitching the body of your plastic canvas pattern, you will want to hide the ugly plastic edge of the plastic sheet. You do that by simply adding a whip stitch along the entire edge. This will cover all of the remaining plastic.
Plastic Canvas Video
This video will show you exactly how to stitch plastic canvas, how to hide the yarn tail, the whip stitch for completing, and an example of a plastic canvas pattern. Since it is actually a video that shares the instructions and supply requirements for making a key ring, it is also an excellent east beginner project with step by step easy to follow instructions.
Even if you don’t like the looks of the keychain, you will still find the stitching and construction instructions beneficial.
I sincerely hope this tutorial helps you. It is often rather difficult to describe how to do something in words. Often, it is simply easier to show you. In this fast paced world, crafters are most often working after hours, or even in the middle of the night. Thanks to the internet, we are now able to share “how to instructions” to friends in other cities, states or even countries. However, since I am not sitting right next to you in the same room, it is a bit more challenging to teach each other.
If you have questions, or need additional assistance, please leave your questions in the comment section below. I will answer!
Please Share this Tutorial with Your Friends & Family. Let’s All Stitch Together!

3 Comments
Joanne
I am making a rabbit from canvas. It says fill in leg pieces with green stitches. Overlap two holes to form ring, and stitch together. ( work two ). Whipstitch a foot piece to one end of each rings formed. What does that mean ? How do you do that? I dont understand. Thank you. Please help
Sylvestermouse
I’ve read through the instructions several times. fill in leg pieces with green stitches seems straight forward – to stitch all stitches in the legs with green floss (I think – a picture would help to verify). Overlap two holes “to form a ring” – Overlaping two holes in aida fabric or plastic canvas would make sense, but to form a ring, I don’t understand. Could you tell me the pattern name & number. Perhaps, I could look it up and try to help.
Maryrose
After I finish one row on my plastic canvas how do I move up to the next row?