How to Make Your Own Beaded Ornaments
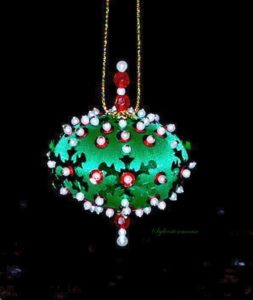 Handmade Beauty
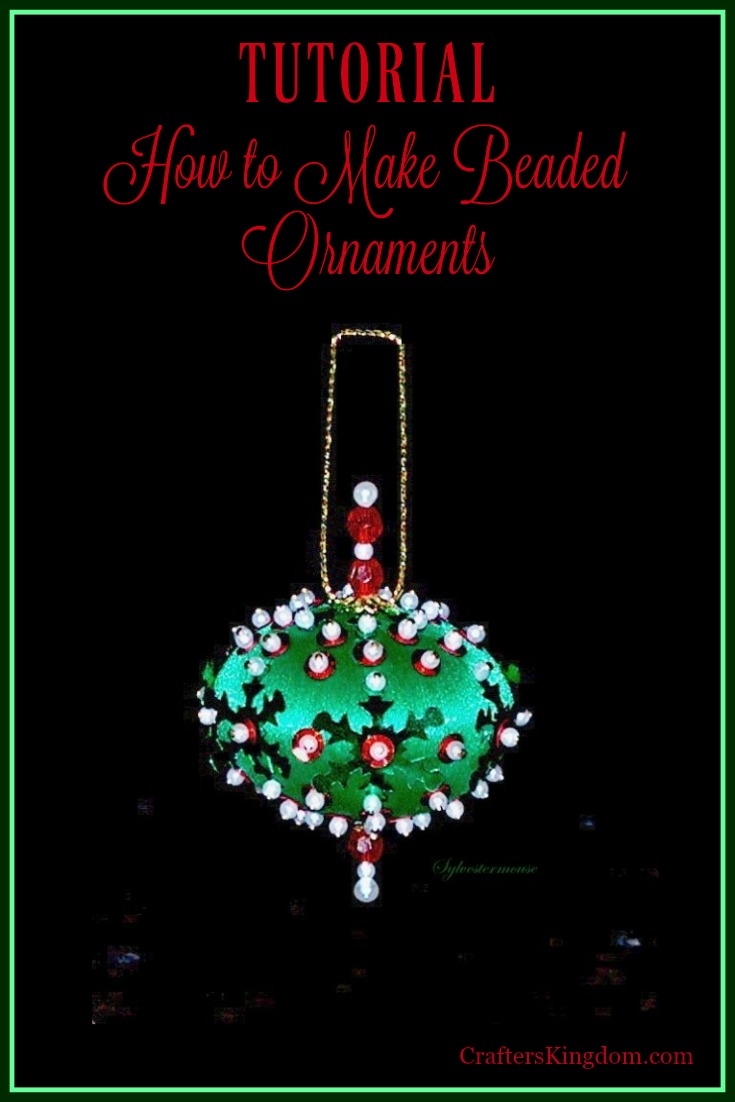
Beaded Christmas ornaments are not only beautiful decorations but they make excellent Christmas gifts. Handmade ornaments will be cherished for a lifetime and can be passed down to future generations.
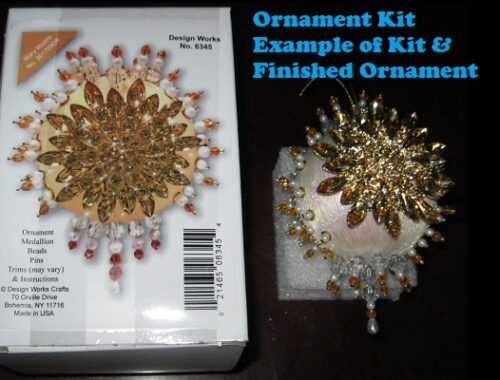
In this article, I will use a kit to show you how to make your own beaded Christmas ornaments. I prefer the kits simply because everything I need to make the ornament is included except the craft glue.
Once you see for yourself just how easy it is to make a beaded ornament, no doubt you will want to get started on your own beautiful decoration.
What You Need To Get Started on Your Beaded Ornament
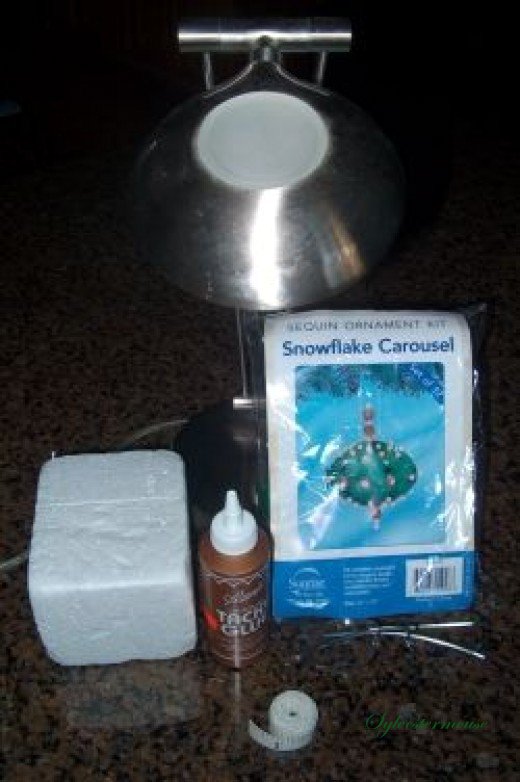 There are so many different kits available on the market today, that you really can choose one that appeals to you in color, shape, and difficulty level.
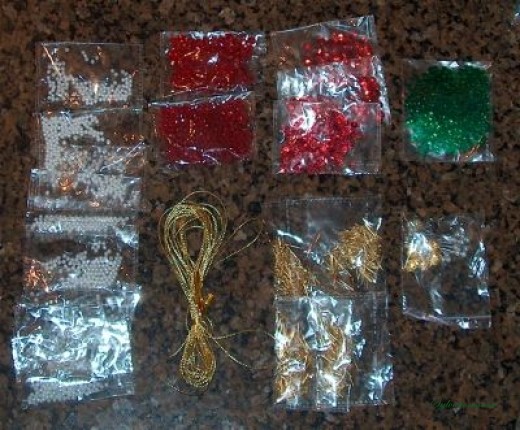
Kits should include:
Ornament Forms, Beads, Pearls, Sequins, Embellishments, Straight Pins, Decorative Threads for Hangers
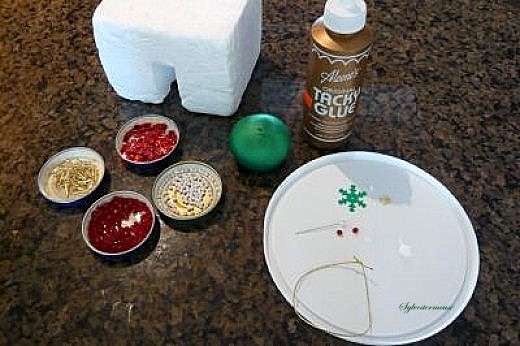
In addition to the Kit, you will also need:
- Scissors
- Craft Glue
- Measuring Tape
- High Intensity Lamp/Desk Light
- Magnifying/Reading Glasses (optional)
The Kit Used for this Presentation/Instruction: Snowflake Carousel from Sunrise Craft & Holiday Co.
Get Started on Your Beaded Ornaments
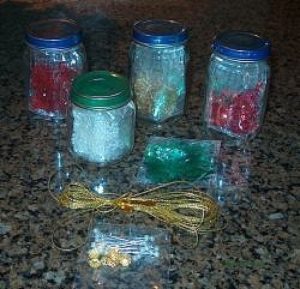 I know you want to get started immediately. However, if you start your project by separating the beads, the actual assembly will progress much faster. In the end, organization is excellent time management.
Set up an organized work area and separate your beads by color. Truly, I have never used a bead separating organizer, but they are definitely available to purchase. I actually use baby food jars and cool whip containers to hold my beads and pins.
Why throw away those great glass jars and plastic containers when they can be used to separate and store your craft items?
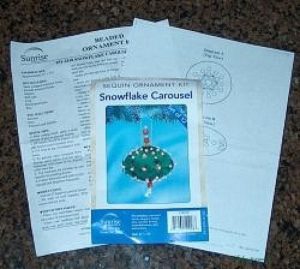 Simple Instructions for Beaded Ornaments
Each kit includes instructions and usually a diagram or chart. I read the instructions first, look over the diagrams and examine the photo of the finished ornament.
Personally, I can duplicate what I see in the photo easier than I can follow the written instructions, but I use them all to complete my project.
10X Magnifying Glass with Light and StandCheck PriceAleene’s Original Tacky Glue
2 Ounce BottleCheck PriceEverything Mary Large Plastic Bead Storage Organizer Box, 24 JarsCheck Price6 Sets 6 Layer Stackable Plastic ContainersCheck Price
Begin Beading Your Ornament
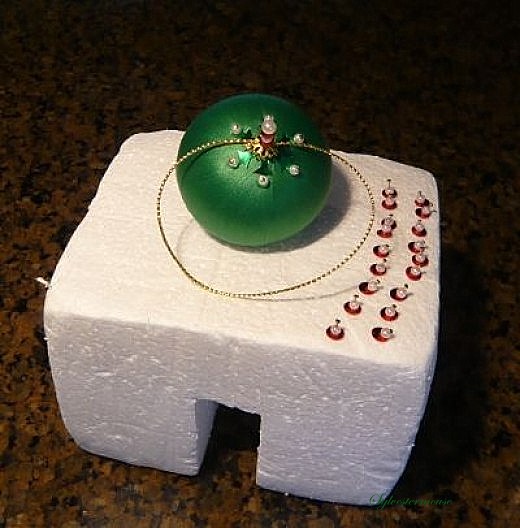
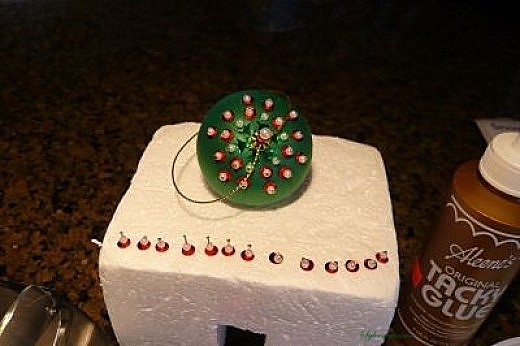
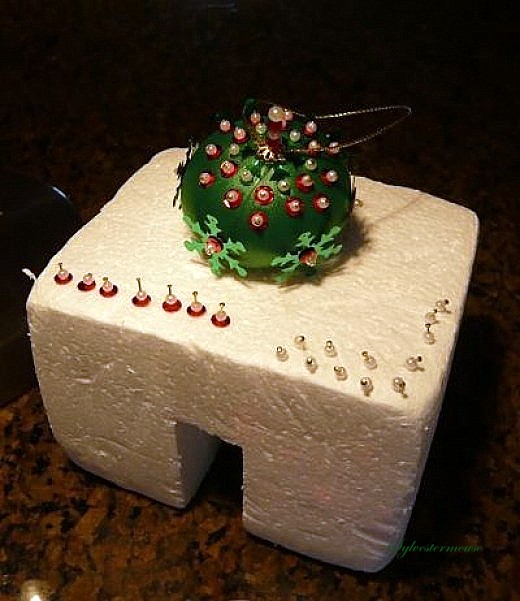
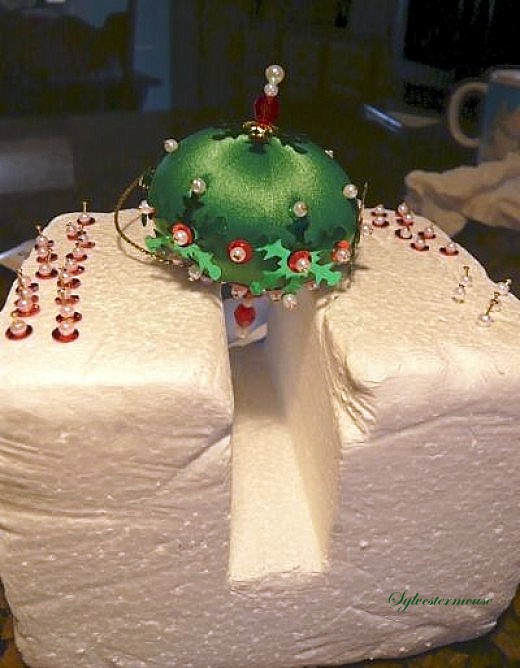
I assemble my beaded pins in groups and stick them into a Styrofoam block until I am ready to place them on the ornament.
When I am ready to set the first pin in place on the ornament, I squeeze a little craft glue onto a plastic lid. I poke the tip of each pin into the dab of craft glue right before I position the ornament for final placement.
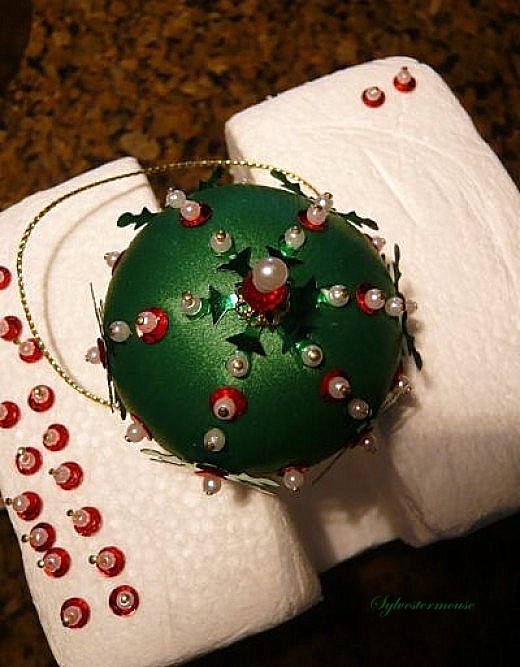
Add Beaded Pins Row by Row
Time to do the Bottom
I have no idea where I got this Styrofoam, but I have used it for years.
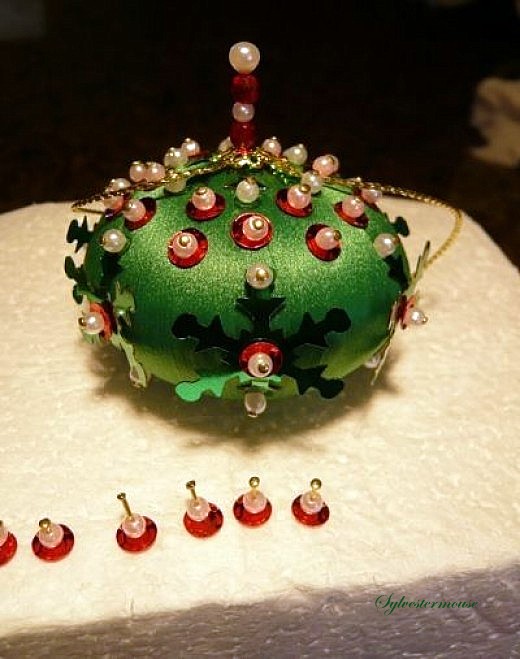
Rows of Beaded Pins for Bottom
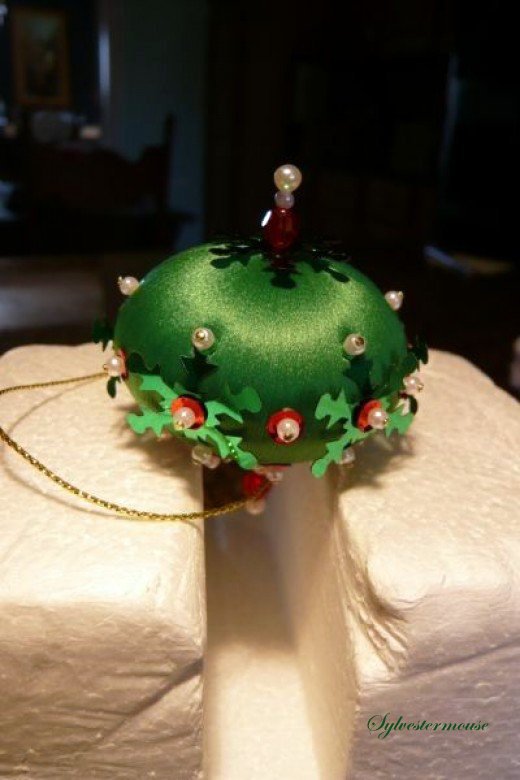
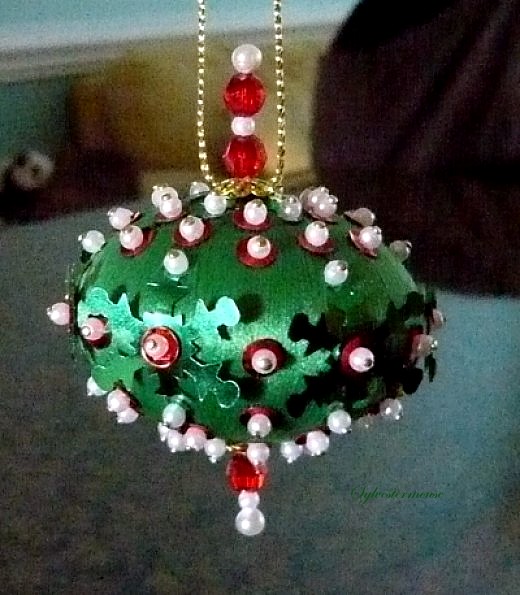
Almost Done With the Beaded Ornament
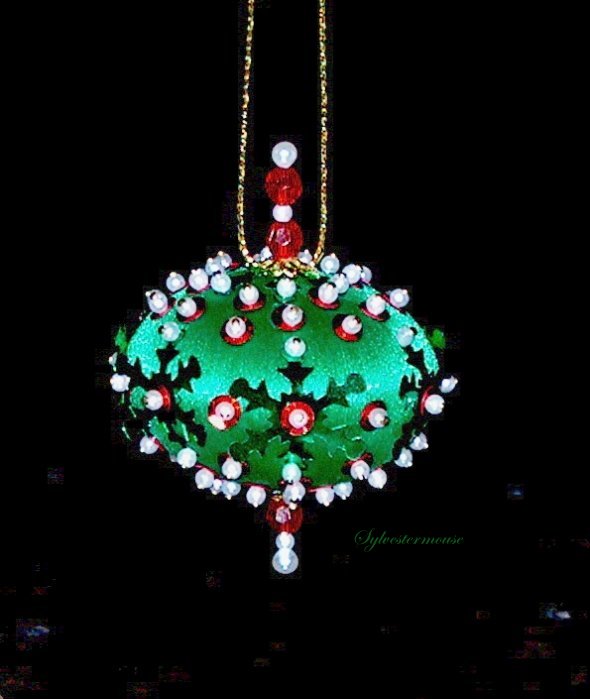
In a Few Hours You Are Finished!
Now You Have a Beautiful Memory, a Lovely Treasure, a Precious Gift and a Lasting Tradition
How to Order this Beaded Ornament Kit
The Snowflake Carousel kit has all of the supplies needed to make 12 ornaments.
When it is in stock, it will be one of the kits offered here: Ebay
Beaded Ornament Kits
Sunrise SNOWFLAKE CAROUSEL 12 Beaded Sequin Ornaments Kit NEW
 | $35.23 Buy It on eBay for only: $35.23 Buy It Now on eBay |
Sunrise SNOWY HOLIDAY TREES Set of 3 Beaded Sequin Christmas Ornaments Kit NEW
 | $21.27 Buy It on eBay for only: $21.27 Buy It Now on eBay |
CRYSTAL SNOWFLAKES with GREEN BEAD TIPS - Set of 24 Beaded Ornaments Kit - NEW
 | $20.19 Buy It on eBay for only: $20.19 Buy It Now on eBay |
CHRISTMAS LANTERN BEADED Ornaments Kit SET of 6 ~ NEW
 | $15.64 Buy It on eBay for only: $15.64 Buy It Now on eBay |
Sunrise SNOWFLAKE CAROUSEL 12 Beaded Sequin Ornaments Kit NEW
 | $35.23 Buy It on eBay for only: $35.23 Buy It Now on eBay |
Sunrise RED BEADED BAUBLE Set of 10 Beaded Ornaments Kit - NEW
 | $21.27 Buy It on eBay for only: $21.27 Buy It Now on eBay |
Sunrise GREEN BEADED BAUBLE Set of 10 Beaded Ornaments Kit - NEW
 | $21.27 Buy It on eBay for only: $21.27 Buy It Now on eBay |
Sunrise BLUE BEADED BAUBLE Set of 10 Beaded Ornaments Kit - NEW
 | $21.27 Buy It on eBay for only: $21.27 Buy It Now on eBay |
Cousin Corp. White CHRISTMAS LEGENDS WREATH Beaded Ornaments Kit SET 6 NEW
 | $16.87 Buy It on eBay for only: $16.87 Buy It Now on eBay |



One Comment
Pingback: