How to Make a Mad Hatter’s Hat
Johnny Depp’s Mad Hatter’s Hat from “Alice in Wonderland”
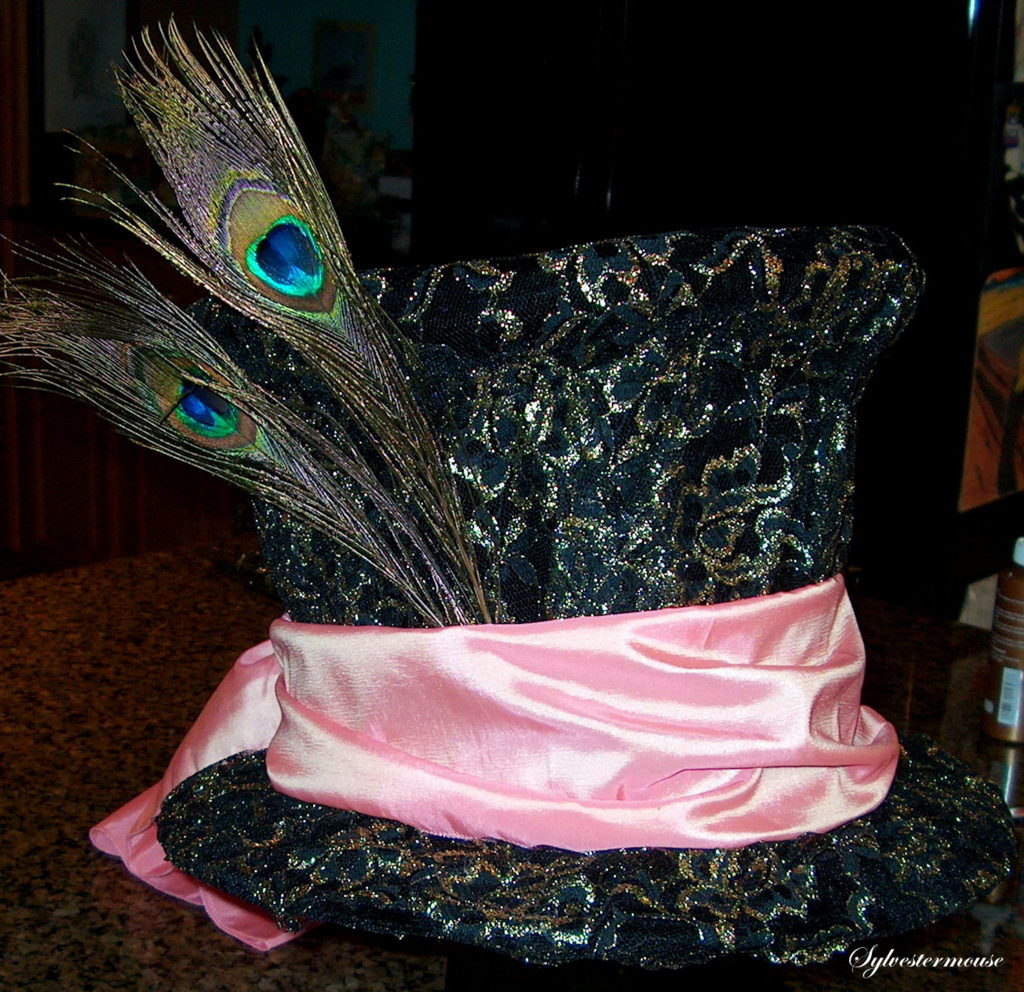
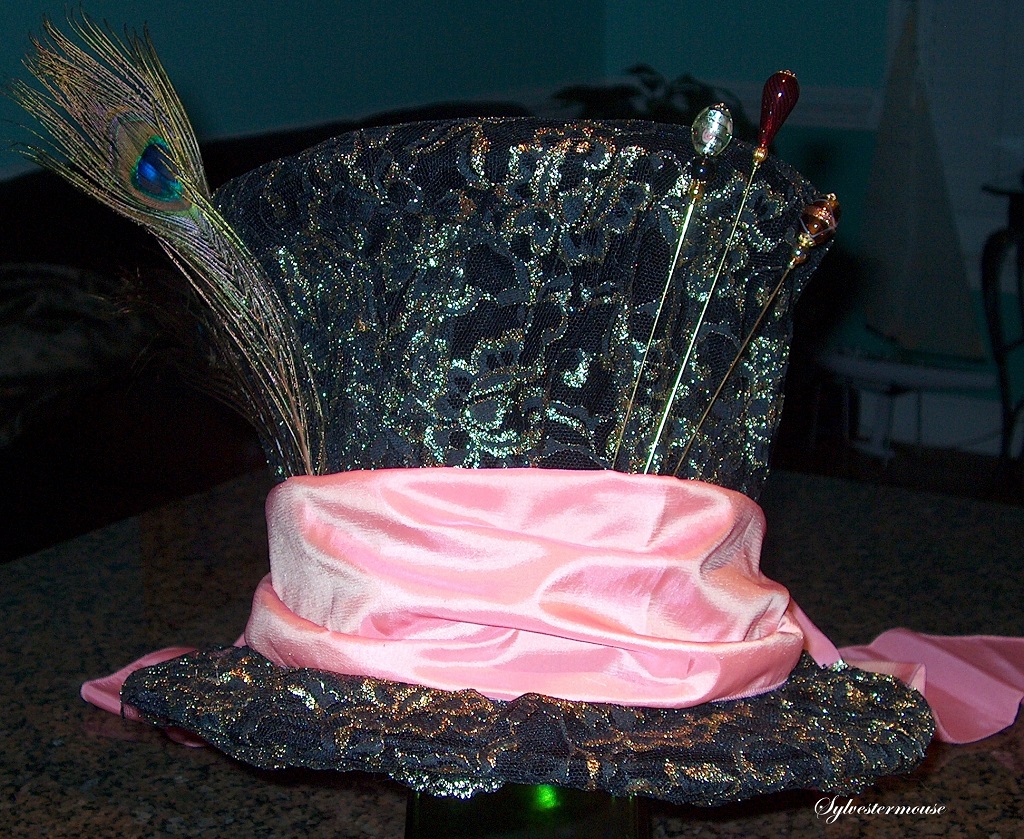
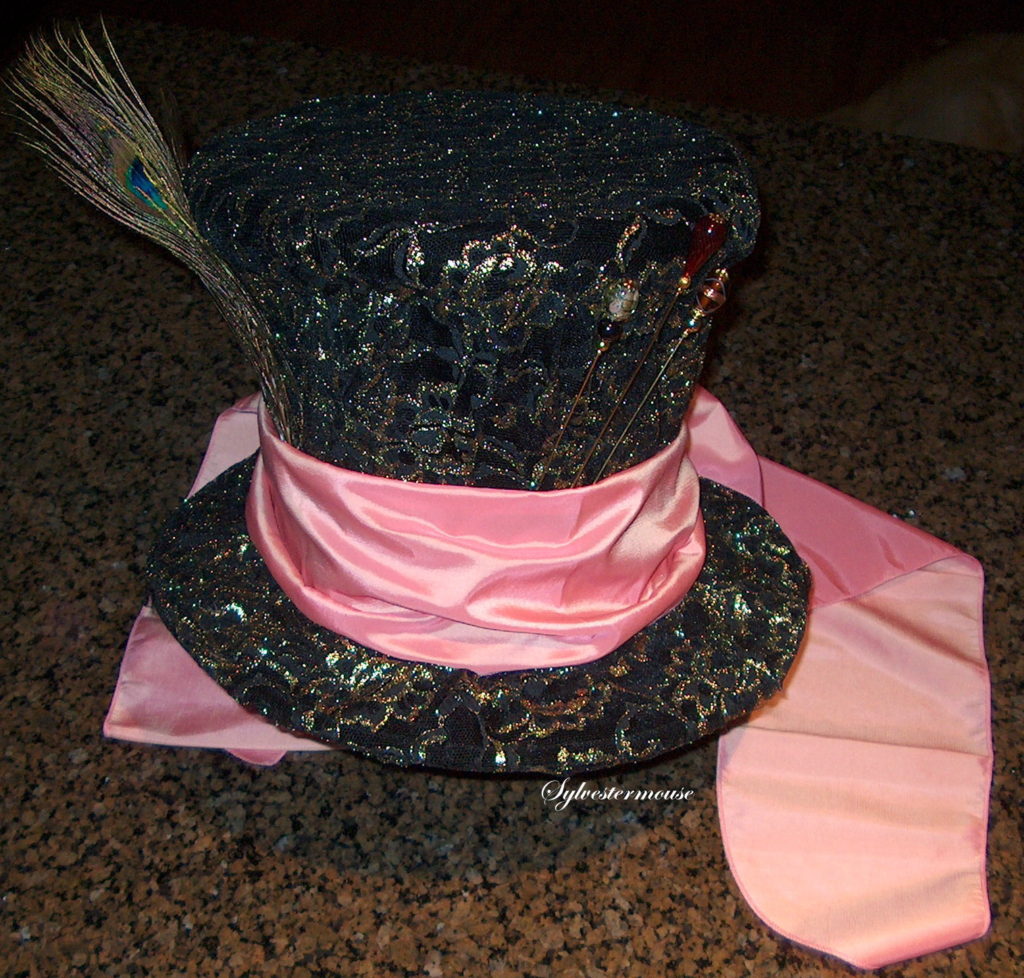
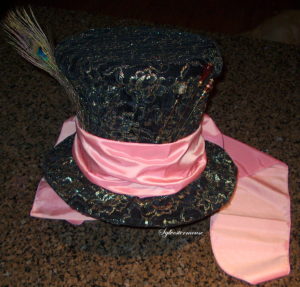 The Mad Hatter’s hat worn by Johnny Depp in Tim Burton’s new movie, Alice in Wonderland, is simply a glorious creation that we all can make and enjoy!
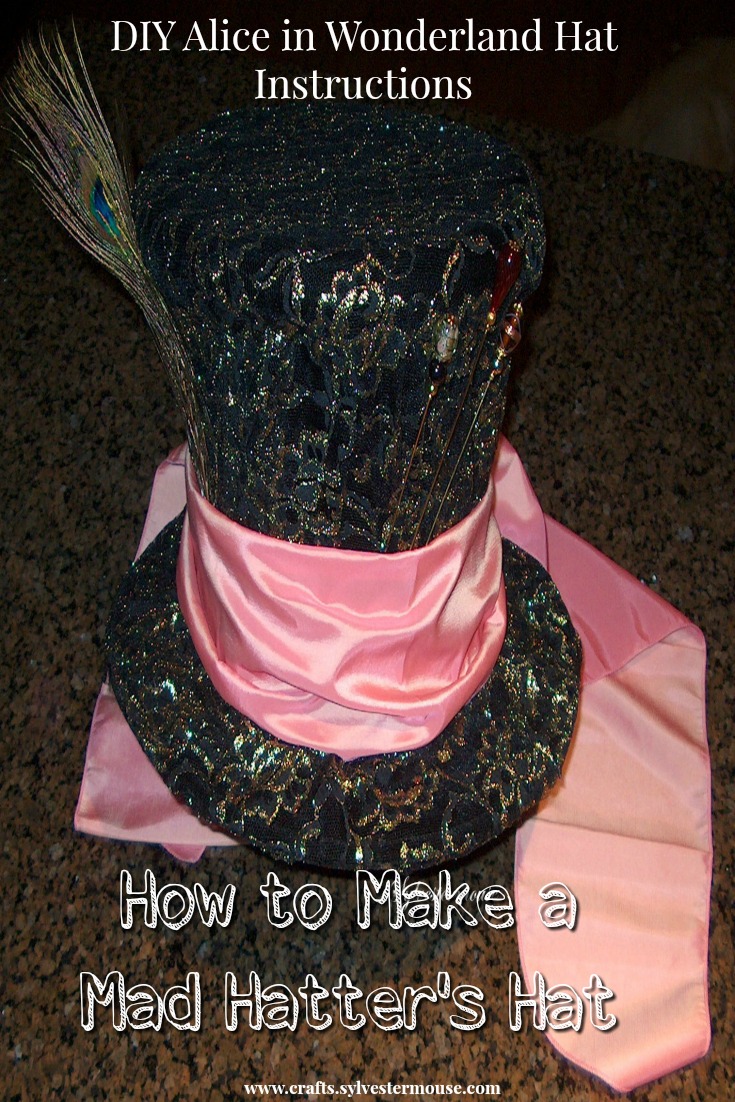
In this article, I will be sharing my photos and step by step instructions to make your own Mad Hatter’s hat similar to the original hat worn by Johnny Depp.
I made this hat for my son to wear to a Halloween party during his college days. He loves the hat so much that it is now a permanent part of his bedroom decor. I originally shared these instructions back in 2010 on a website that is no longer in existence. Since I know how popular my Mad Hatter Top Hat DIY Instructions were, I have moved the content and directions to this permanent site.
Supplies Needed to Make a Mad Hatter’s Hat
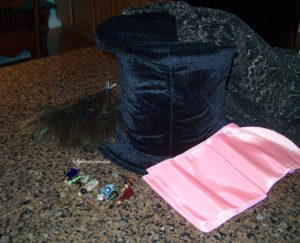 Pre-made Top Hat
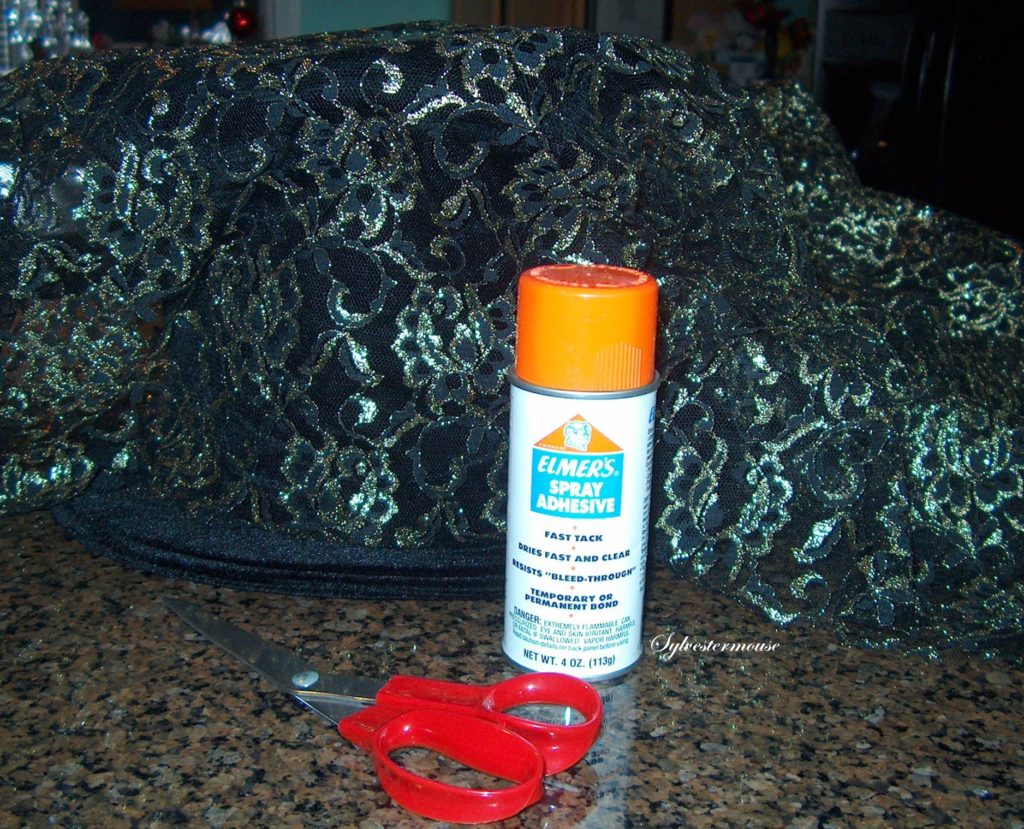
- 1 yd. Lace with Metallic Accent
- Pre-made Peach Sash
- Peacock Feather(s)Hat Pins ~ 8″ or 9″Straight Pins
- Adhesive Spray
- Craft Glue
- Masking Tape
- Corrugated Card Board
This is the Actual Hat I Purchased
Elope White Rabbit TopperCheck Price
I purchased the costume hat pictured and cut the threads holding the ears and bow on the hat and removed the bow and ears from the hat.
This is an exceptionally well made hat. It is even lined. However, it will not stand up alone so it is necessary to stabilize the top.
I will show you exactly what I did!
Stabilizing the Hat ~ Step 1
DIY Mad Hatter Top Hat Instructions
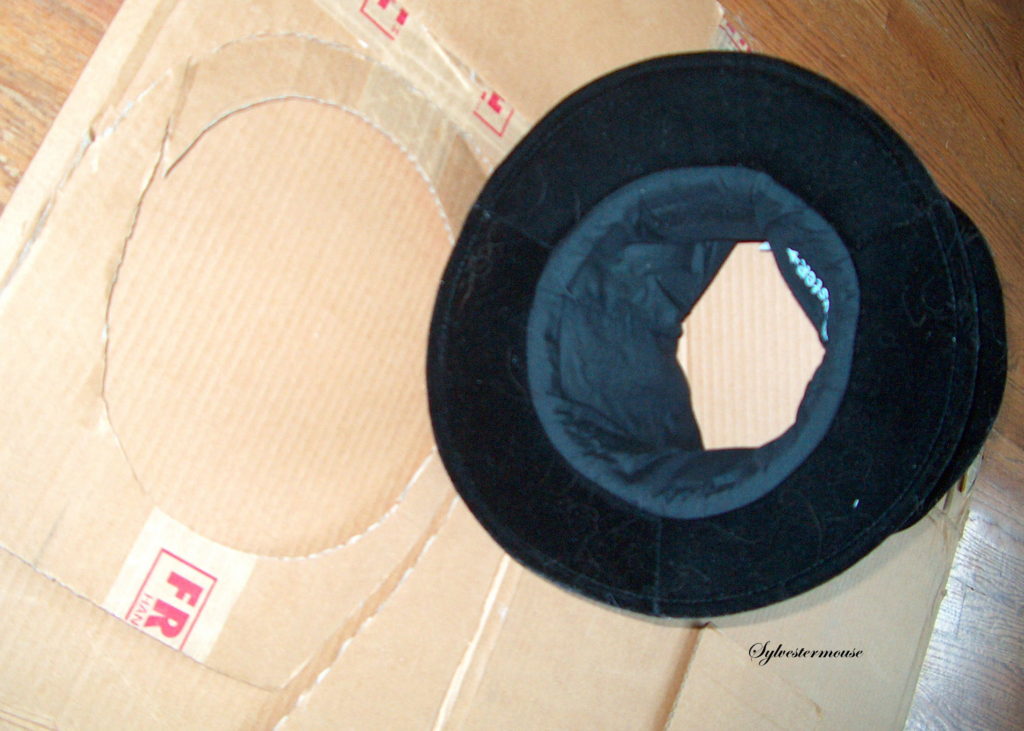
It is necessary to make a cardboard liner for the fabric hat
Outline the round top of the hat on a piece of thick corrugated cardboard. Cut in out and stuff it in the top of the hat.
Stabilizing the Hat ~ Step 2
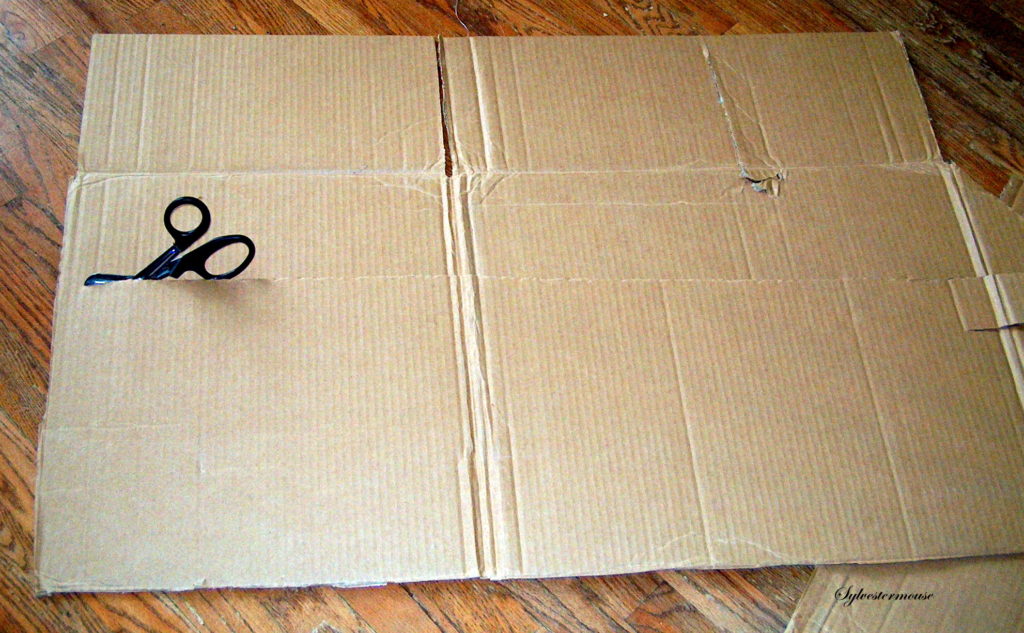
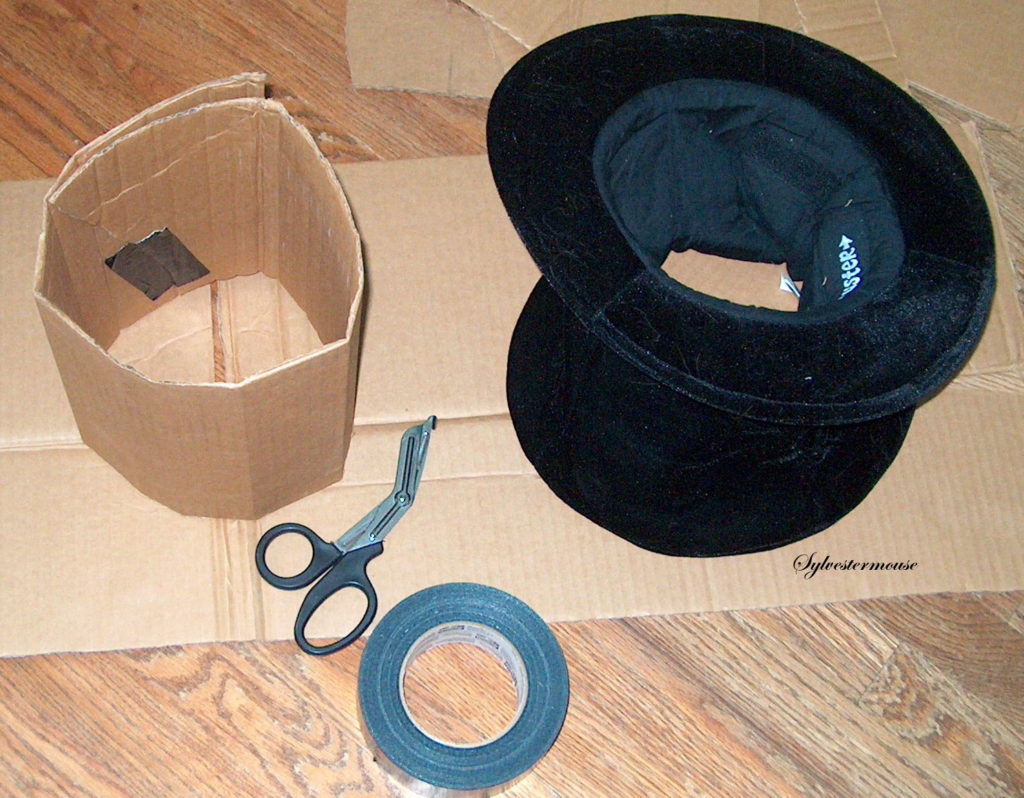
Cut a 25″ x 10″ piece of corrugated cardboard. Be sure to cut the 10″ side in the same direction as the inner fluted piece of the corrugated cardboard. You will need to be able to bend the longer side of the card to make a tube.
Stabilizing the Hat ~ Step 3
Gently bend the corrugated cardboard into a round tubular shape. Use the masking tape to hold the tubular shape.
Stabilizing the Hat ~ Step 4
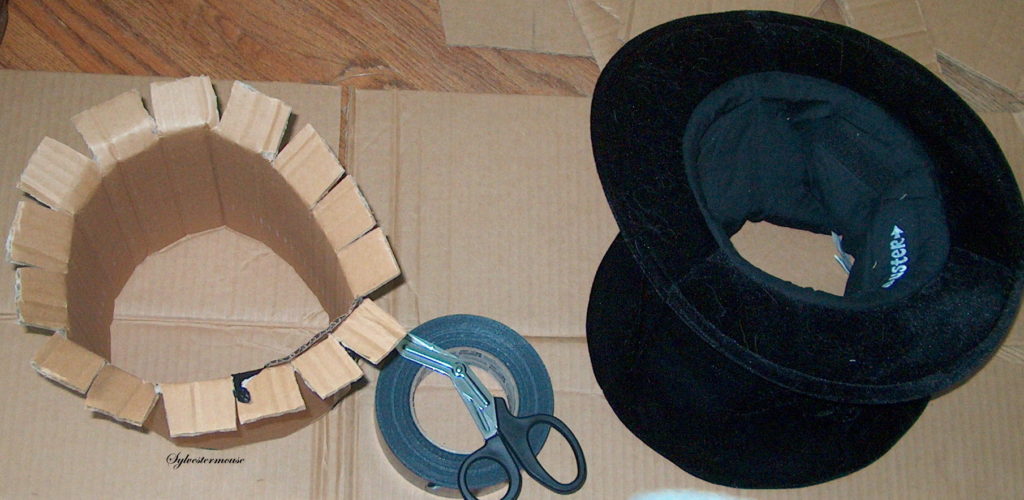
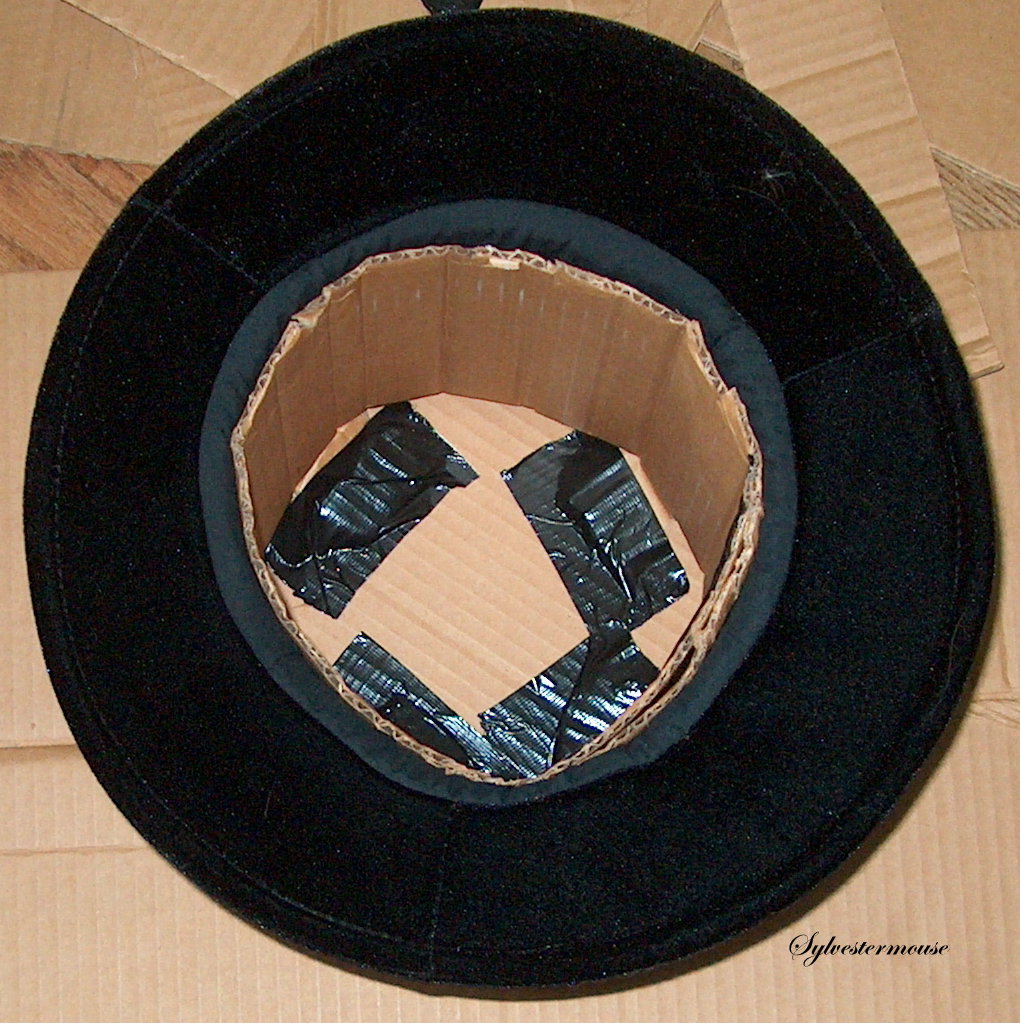
Cut 2″ slits in the top of the tube in approx. 2″ intervals and fold down.
Stabilizing the Hat ~ Step 5
Stick the cardboard tube into the hat. Fold 4-6 cut sections into the hat and allow the remaining folds to flair out to help hold the top of the hat wider than the center of the hat. Tape the inside flaps to the cardboard top of the hat.
Covering the Hat ~ Step 1
DIY Mad Hatter Top Hat Instructions
Elmers Multi-Purpose Spray Adhesive, 4-Ounce, ClearCheck Price
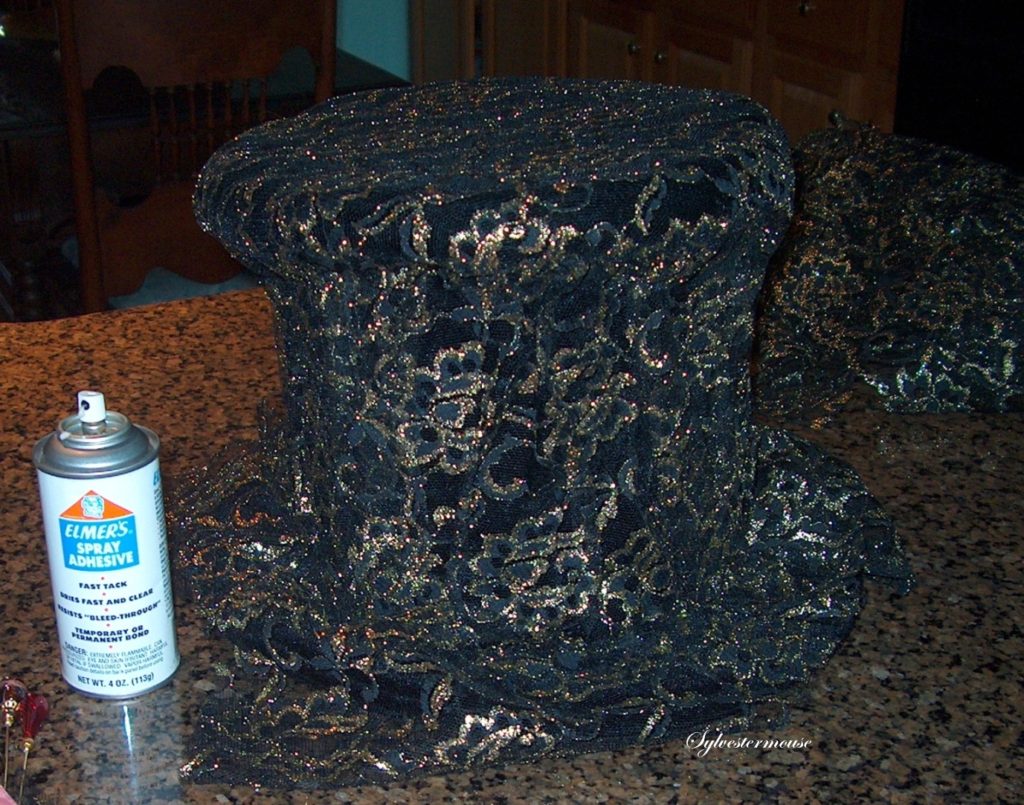
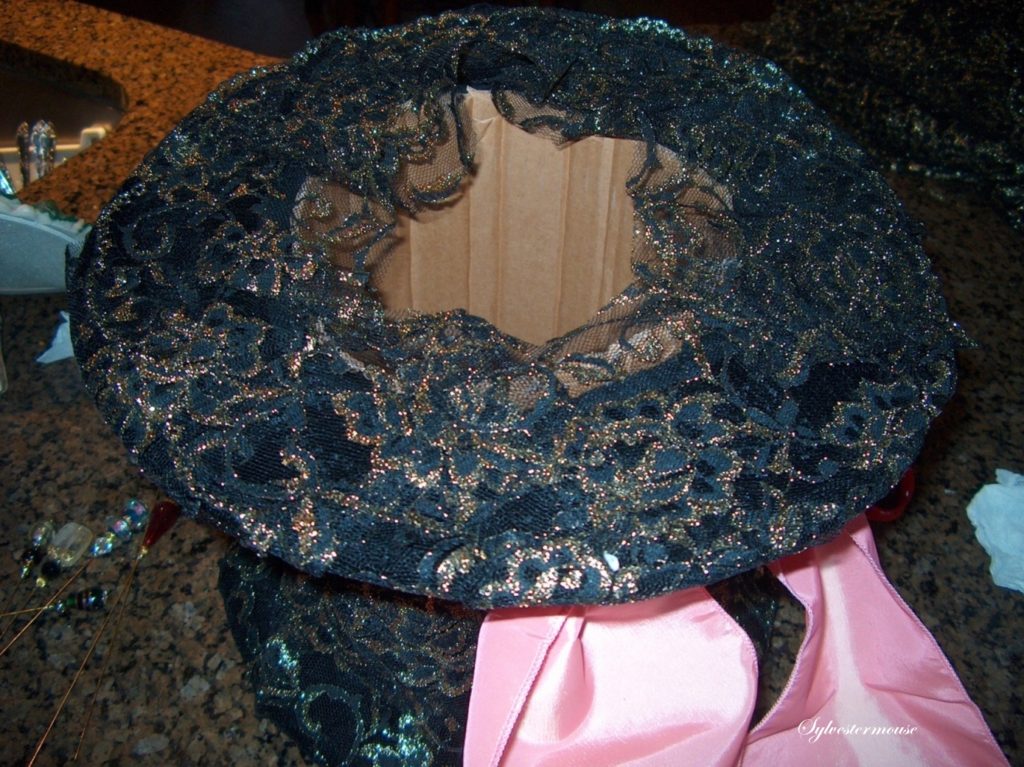
Using the Spray Adhesive sparingly, affix the lace fabric to the hat. Elmer’s Spray Adhesive will dry clear, but it is not necessary to cover the hat with glue. Just spot spray the adhesive and hold the fabric in place for a approx. 30 seconds. Do not put adhesive on the top of the hat. Use straight pins to hold the fabric in place until it drys around the top flared edge. DON’T STICK PINS THROUGH THE CARDBOARD.
I left approx. 6 pins attaching the lace fabric to the hat under the flared top edge and approx. 6 pins folded through the lace and hat fabric at the brim of the hat. The pins at the brim will be covered by the sash.
Note: You will need to wash you hands occasionally to remove the glue from your hands, otherwise you will have very sticky fingers.
&
Covering the Hat ~ Step 2
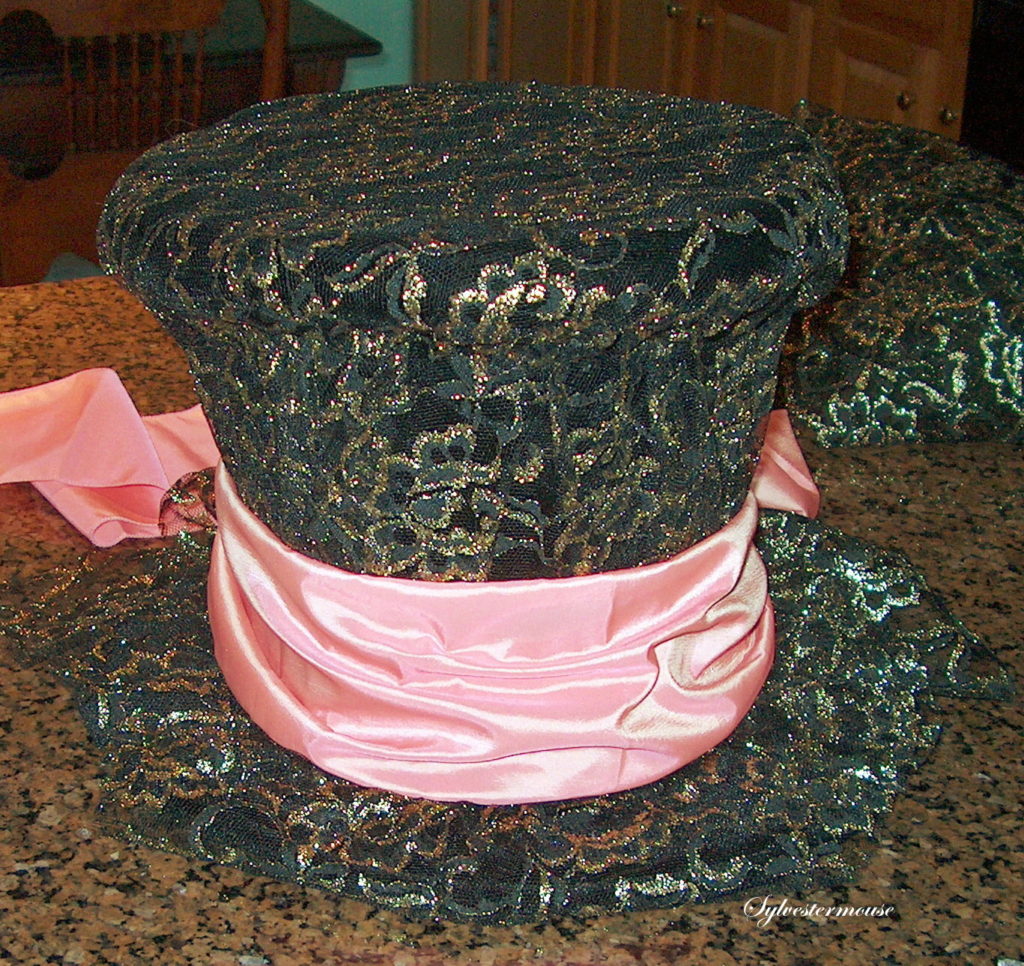
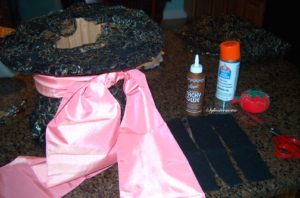
I purchased a pre-made peach dress sash ~ 90″ x 6″. Tie the Pre-made Sash around the base of the hat.
Covering the Hat ~ Step 3
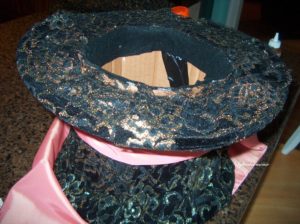
Using the Spray Adhesive, affix the edges of the lace under the brim of the hat.
Covering the Hat ~ Step 4
Cut 3 strips of Black Felt approx. 2″ wide and 6″ long. Using the Aleene’s Craft Glue, attach the felt strips inside the bottom of the hat covering the lace edges and glued to the inside cardboard tube. Use a good coating of this glue. It will not show and the felt hat band needs to remain firmly in place when taking the hat on and off of your head.
Embellishing the Mad Hatter’s Hat
Poke a Peacock Feather on the left side of the hat under the sash.
Pin the Hat Pins on the right front under the sash.
&
Final Steps for Making a Mad Hatter’s Hat
After the hat set for approx. 48 hrs., I carefully pulled the felt hat band off of the cardboard tube inside the hat, but not off of the lace edges. I removed the cardboard tube only. The top cardboard piece remains in the hat to hold the flared shape of the top. Because the spray adhesive had completely dried, I found that the hat would now hold it’s upright position without the cardboard tube. I now use the cardboard tube as a hat form or stand when the hat is not being worn.
I tacked the felt hat band in place with a few beads of glue. The hat is a lot more comfortable to wear without the cardboard insert.
“Egad, you learn something new every day.”
The hat pins that I used were all purchased from ebay sellers. It is pretty awesome what you can buy there, and I was thrilled to find a fairly decent selection available. I searched for “antique hat pin lot” and was pleased to find 2 pins I really liked in one auction.
“Make a note of that, Marcsy, it might come in useful….”
“We Are All Mad Here. I’m Mad. You’re Mad….”
Additional Supplies and Featured Items
JVCC JV497 Masking Tape, 60 yds Length x 1Check PriceFiskars 8 Inch Premier Easy Action Bent Scissors (12-99118697WJ)Check Price
&
If You Are Late for A Very Important Date and Don’t Have Time to Make Your Own Hat – Amazon Now Offers Them Ready Made
Alice in Wonderland Mad Hatter Hat, Disney(Large)Check PriceAlice in Wonderland Mad Hatter Hat with Hair, DisneyCheck Price
&


