How to Make a Halloween Ghost with Fleece Tutorial
Halloween Ghost Decoration
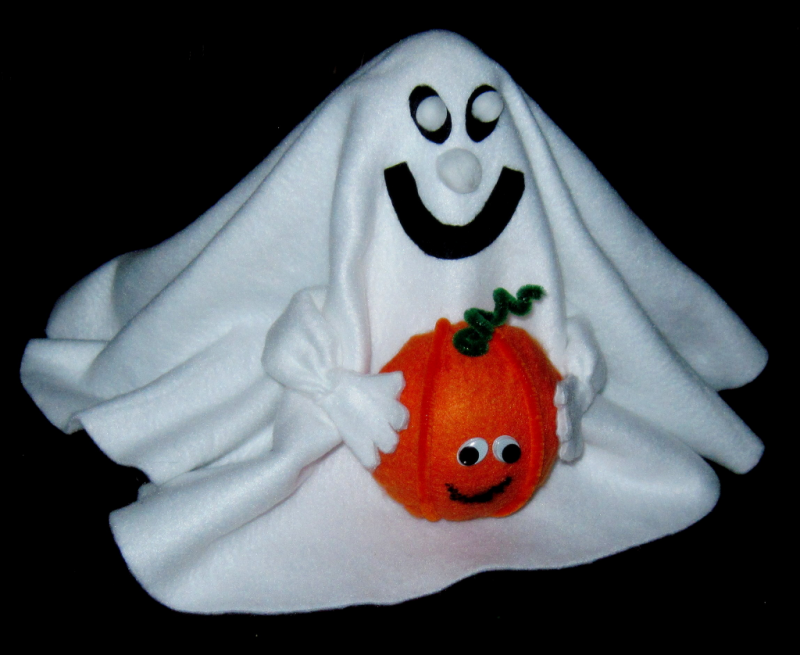
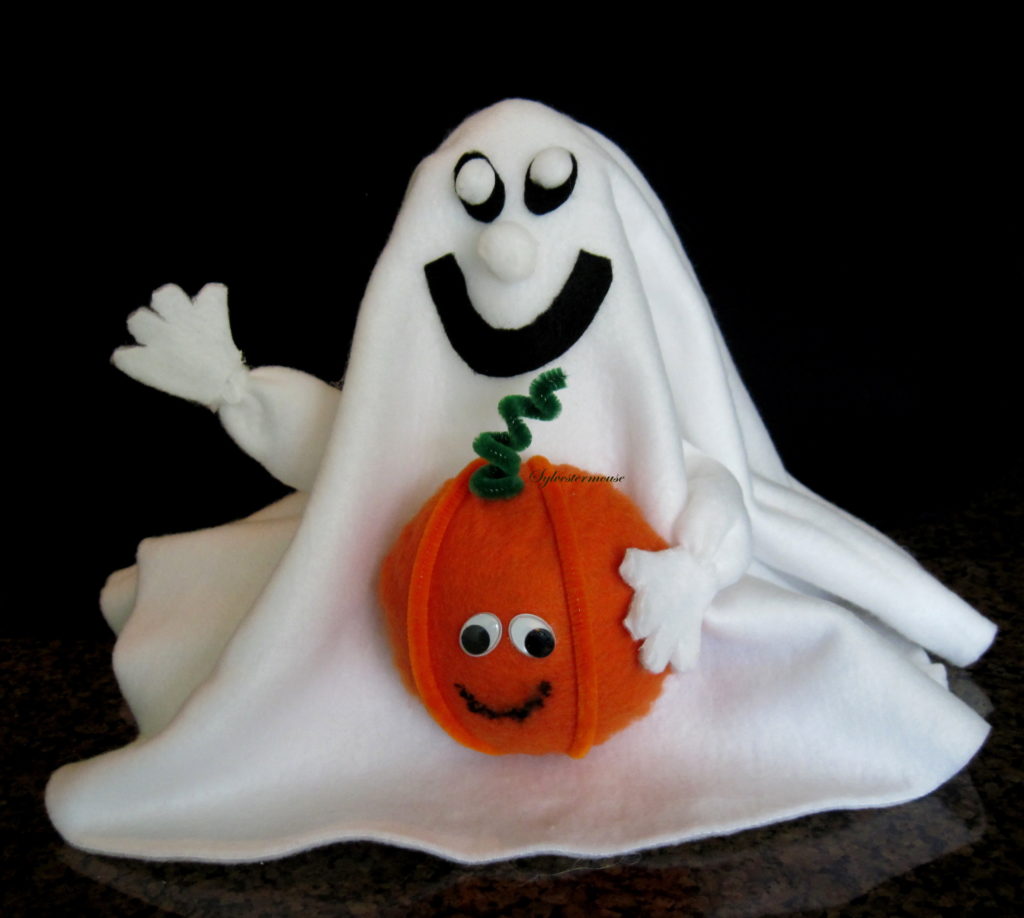 Add a little fun to your Halloween table with this Halloween Ghost Decoration. In this article, I share my step by step instructions to make your own ghost out of fleece. He would be the perfect centerpiece for your party or just be a special friend to help you celebrate the holidays and get into the spirit of the All Hallows Eve.
This friendly little guy will share a smile and wave to your friends as he shows off his own personal little pumpkin which is also adorable. Together they make the perfect combination of friendly and decorative.
He is very easy to make and even easier to love. His fleece is so soft, you may even be tempted to give him a hug. Of course, he might not be easy to keep.
Every time I make a new one, someone else wants to take him home with them.
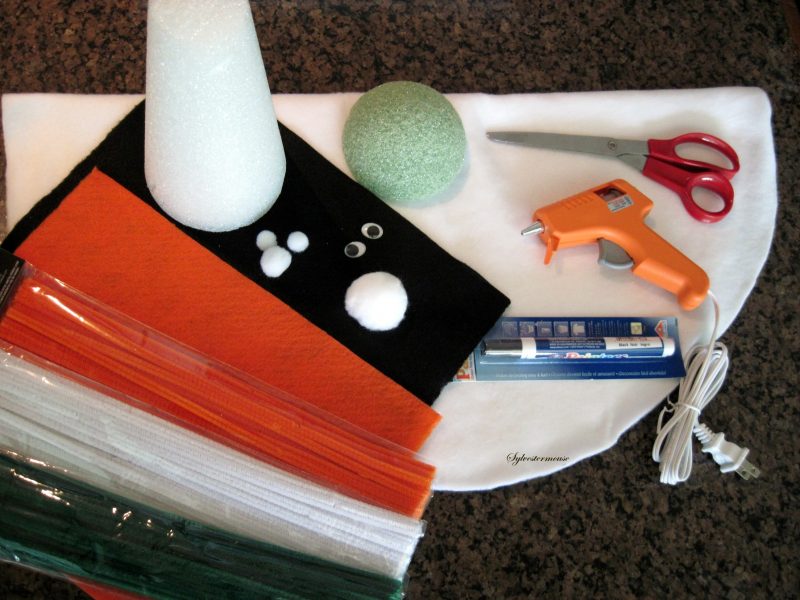
Supplies to Make One Fleece Ghost Holding a Pumpkin
| FOR THE GHOST | FOR THE PUMPKIN | TOOLS NEEDED |
|---|---|---|
| White Fleece ~ 3/4 yd of 45″ or 60″ material | Orange Felt Square | Low Temp Glue Gun |
| Black Felt Square | One Green Chenille Stem | Glue Sticks |
| One White Chenille Stem (pipe cleaner) | Two Orange Chenille Stems | Scissors |
| One White Pom Pom ~ 1″ | Two Wiggle Eyes ~ Oval ~ 15MM | Needle |
| One White Pom Pom ~ 1½” | Styrofoam Ball | |
| Two White Pom Poms ~ ½” | Black Paint Pen | |
| Styrofoam Cone ~ 12″ x 3 ⅞” Cone | ||
| White Thread |
White Anti Pill Solid Fleece Fabric, 60Check PriceOtylzto 20PCS Fabric Felt Sheets 12Check PriceFloraCraft Foam 12Check PriceDNB 4 Inch Foam Balls – 4Pcs 4” Smooth White Round Polystyrene Ball Craft SuppliesCheck PriceCreativity Street Stetems/Pipe Cleaners 12Check PriceCreativity Street Stetems/Pipe Cleaners 12Check PriceCreativity Street Chenille StemsCheck PriceCharles Leonard Inc., Wiggle Eyes, Oval, Assorted Sizes/Black, 100/Bag (64560)Check PriceDarice 40-Piece Acrylic Pom Pom, 1-Inch, WhiteCheck PriceDarice Pom Poms 1/2Check PriceCousin DIY White 1.5 inch Poms, 15 PackCheck PriceElmer’s Painters Opaque Paint Markers, Set of 5 Markers, BrightCheck Price
&
Low Temp Glue Gun
Surebonder L-270 Low Temperature Standard Glue GunCheck Price
The low temp glue gun allows you to get glue into small places without burning your fingers.
When I started crafting, the industrial high temp glue gun was the only glue gun available. Of course, at the time, I thought it was the greatest creation ever, until I burned my fingers. Hot glue from a high temp glue gun can burn severely.
I now own several low temp glue guns. I keep several on hand for those times when friends get together to craft. I always want to have a glue gun for everyone who comes to a craft party.
I also buy huge bags of low temp glue that fit each glue gun style. When you purchase a glue gun, be sure to buy the right shaped glue stick to fit your glue gun.
Cut Pattern Pieces for Halloween Ghost
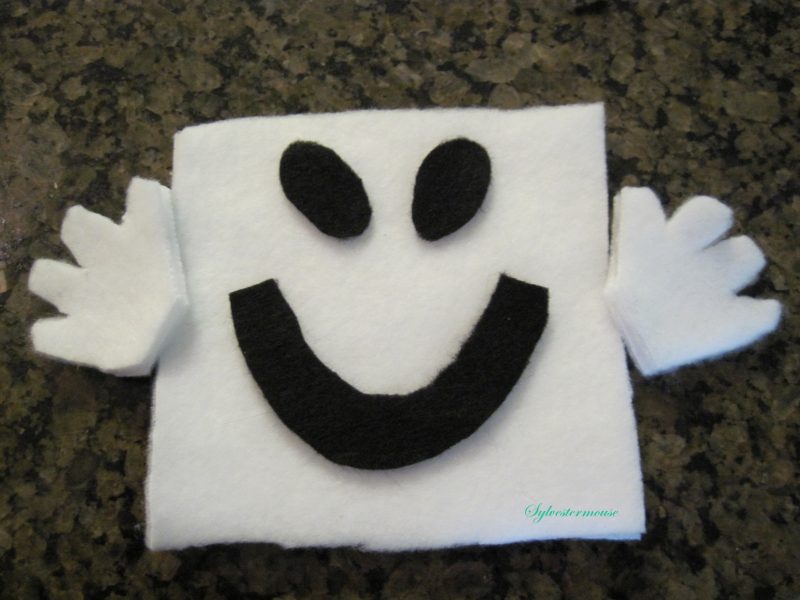
FABRIC PIECES FOR GHOST
It is Easier to Cut all Pieces and Then Assemble
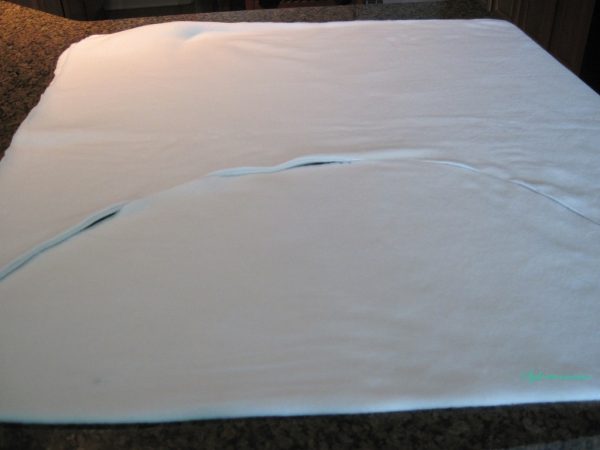
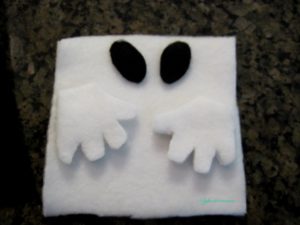 Step 1: Cut White Fleece Piece to 24″ Diameter
(See Photo Above)
Step 2: Cut 2 Square of White Fleece for Sleeve ~
4″ x 4″
Step 3: Cut 4 Hands ~ Mitten style
(1 thumb & 3 Fingers) ~ 1⅞” w x 1¾” h each
(Cut two at a time so they will match exactly)
Step 4: Cut Black Felt Ghost Eyes ~ 2 pieces ~ 1⅛” h x ⅝” w
Step 5: Cut Black Felt Ghost Mouth ~ Outside measures 2¾ w x 1⅞” h
Step 6: Cut White Chenille Stem in half
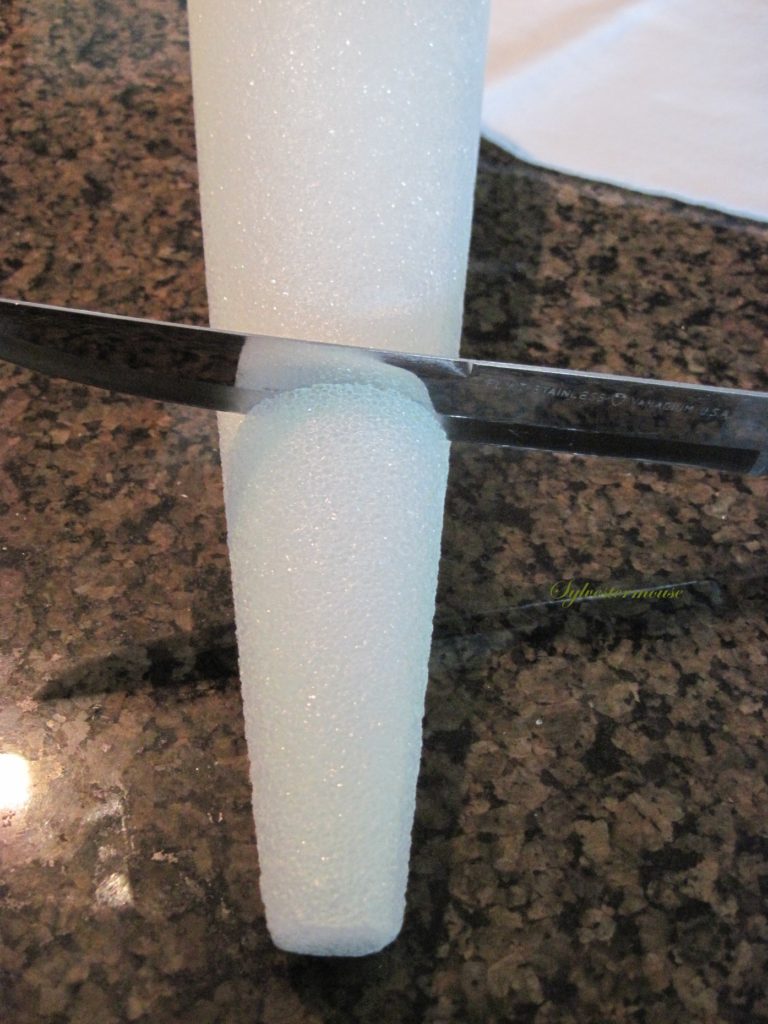
Step 7: Cut approx. 4″ off the top of the Styrofoam Cone ~ Top of the Cone should be approx. 2″ wide after tip is cut off.
Note: The Styrofoam Cone is the base of the ghost body. Even though it is necessary to cut off the tip, you will still need to start with the 12″ cone. A shorter cone would give him a pointed head.
 FOR PUMPKIN
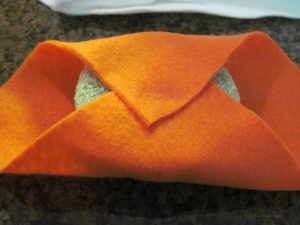
Step 1: Cut 8″ Orange Felt Square
Step 2: Cut Styrofoam Ball in half
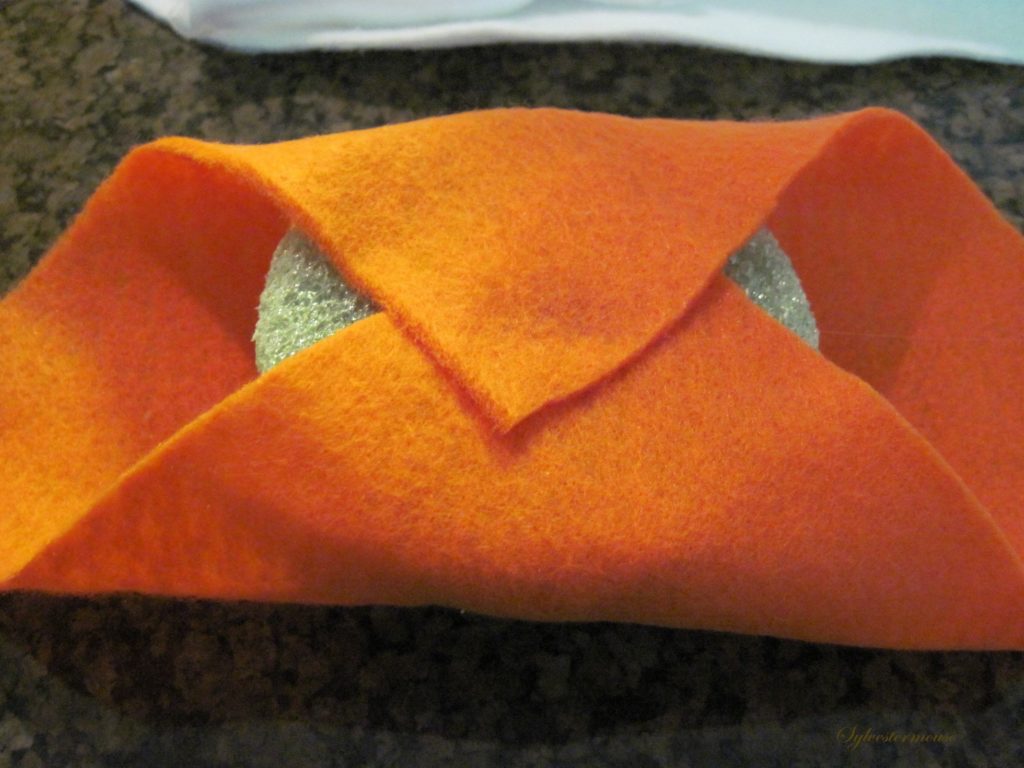
When it is time to assemble the pumpkin, the orange felt square will wrap around the Styrofoam ball half like you see in the photo.
Assemble Halloween Ghost
See Step by Step Photos Immediately Following Written Instructions
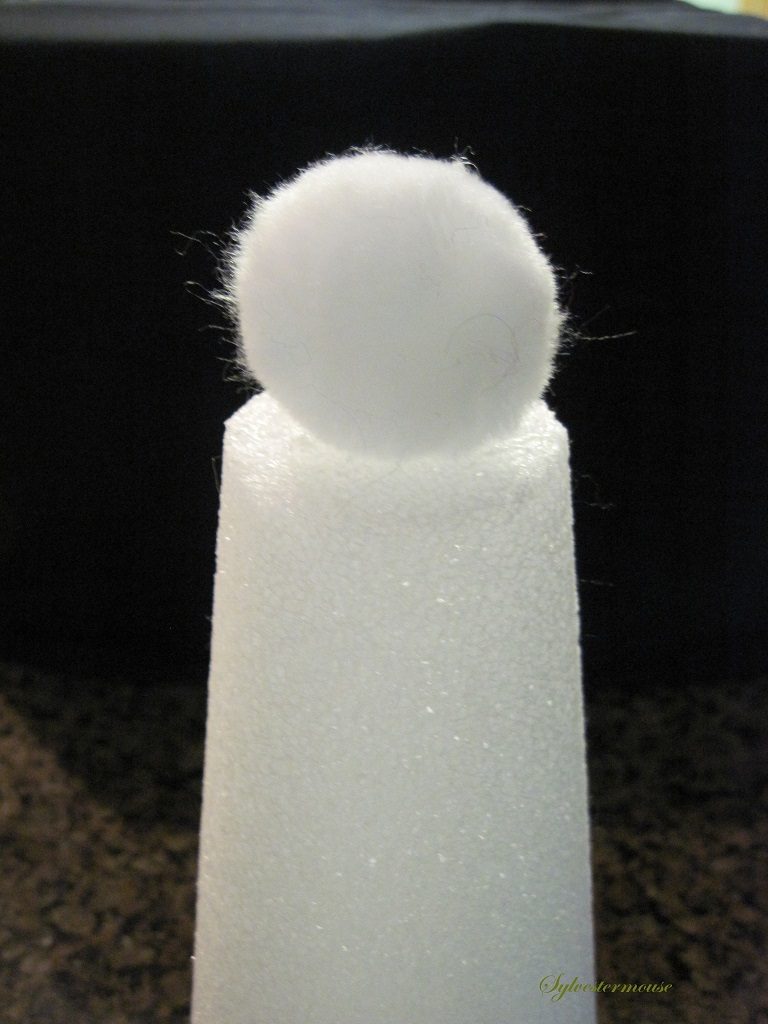
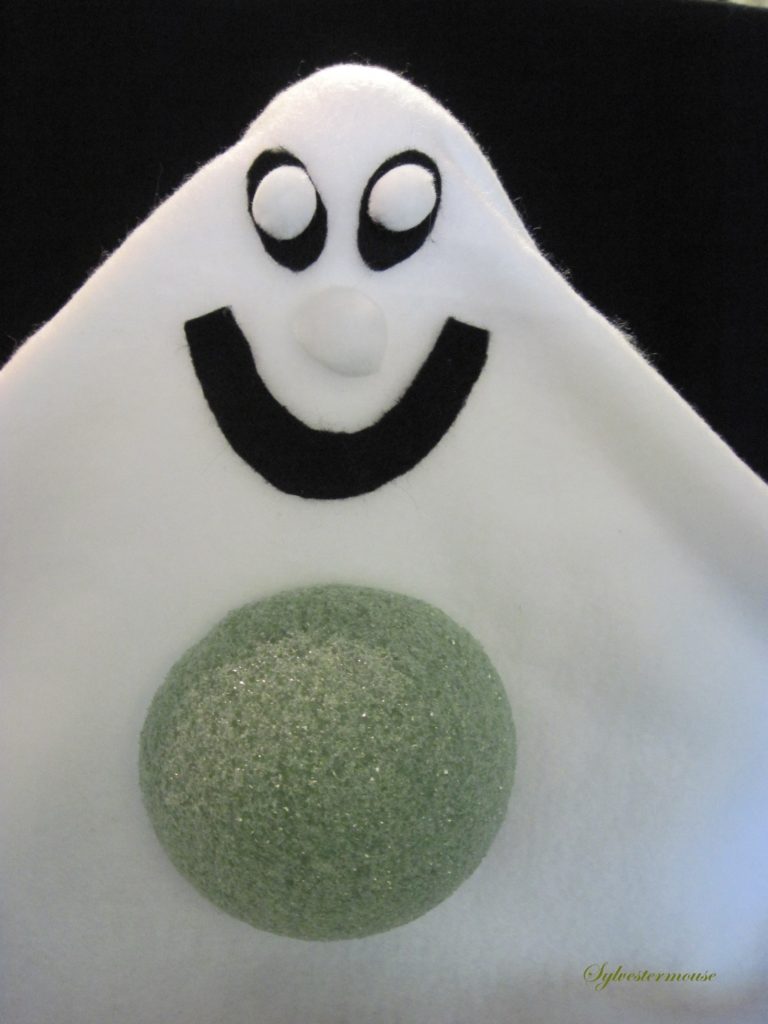
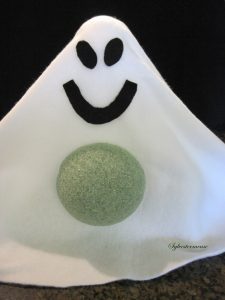 Step 1: Glue 1½” White Pom Pom on the top of the trimmed Styrofoam Cone
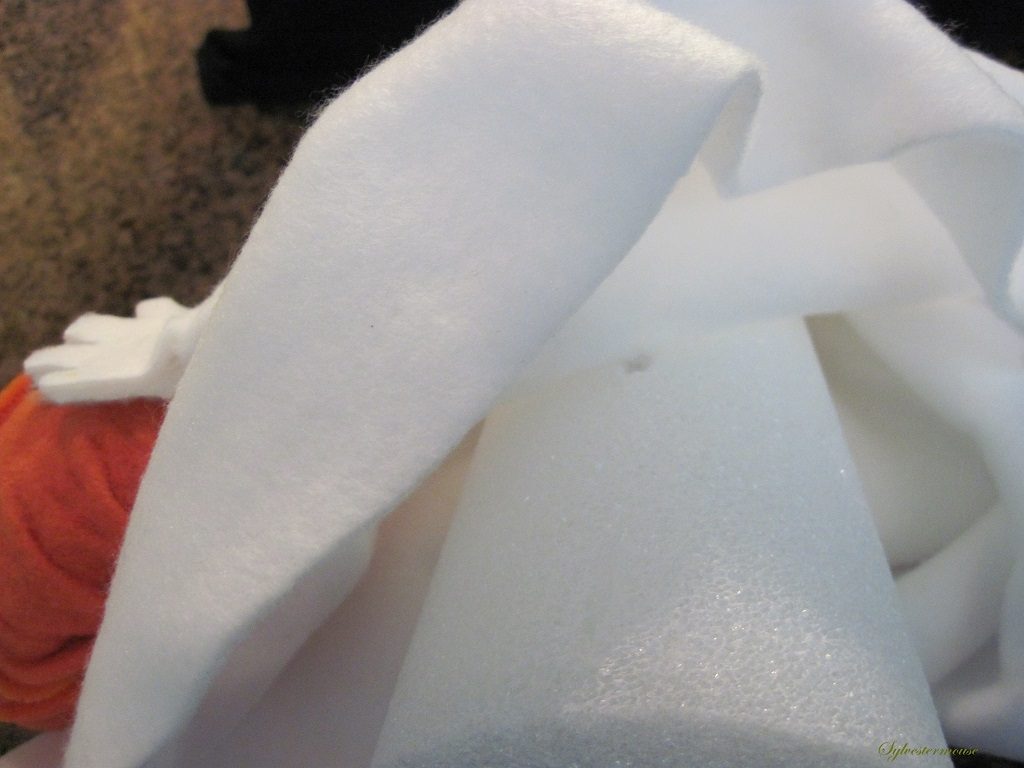
Step 2: Drape and center cut, round Fleece over Cone to make Ghost body
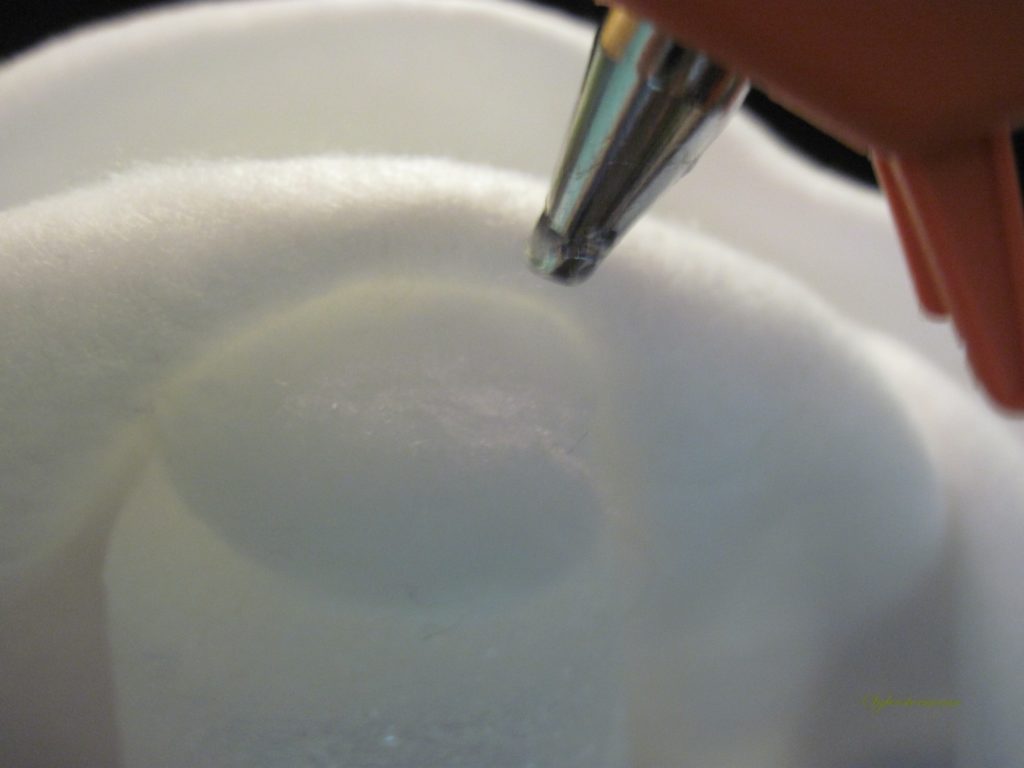
Step 3: Glue Fleece in place on top.
Glue lightly on top only to hold fleece in place
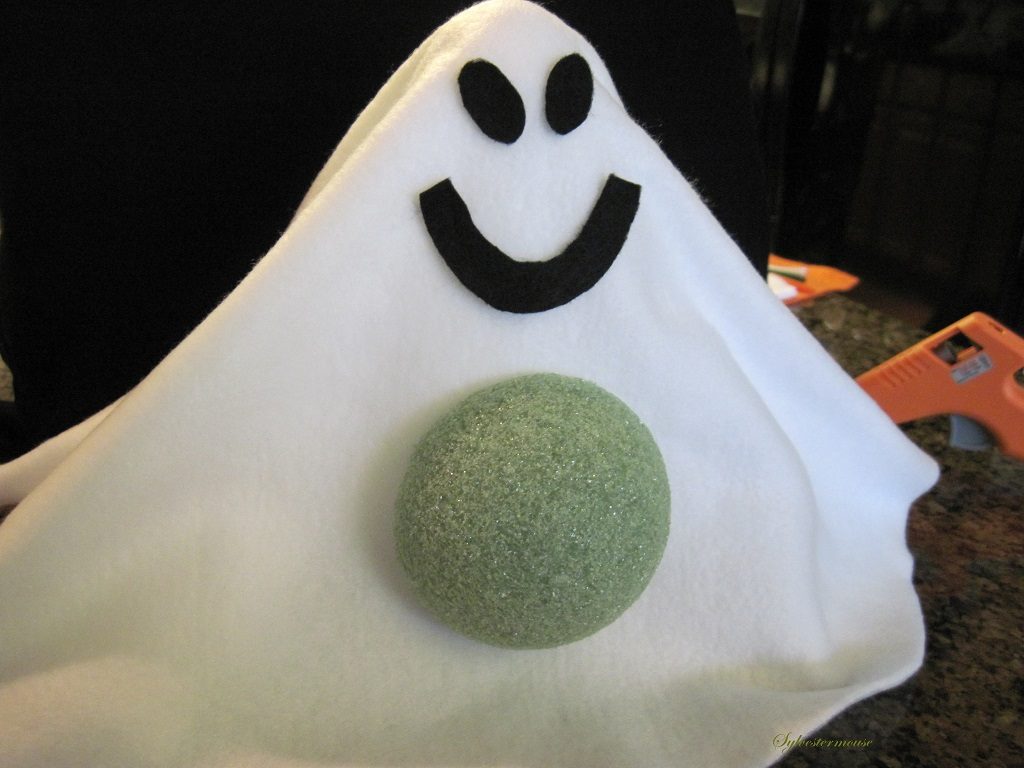
Step 4: Determine placement of black felt Eyes, Mouth & Styrofoam Pumpkin Ball on Ghost.
Felt pieces and Styrofoam ball will stick well enough to place before glued permanently in place.
Step 5: Glue black felt Eyes and Mouth on Ghost.
Step 6: Glue ½” White Pom Pom on black felt Eyes of Ghost.
Step 7: Glue 1″ White Pom Pom in place for Nose of Ghost.
DO NOT GLUE ON PUMPKIN BALL NOW!
At This Point, Set Ghost Aside Temporarily to Make Ghost Arms
Step by Step Photos of Halloween Ghost Assembly
Make Ghost Arms
Step by Step Photos Follow Written Instructions
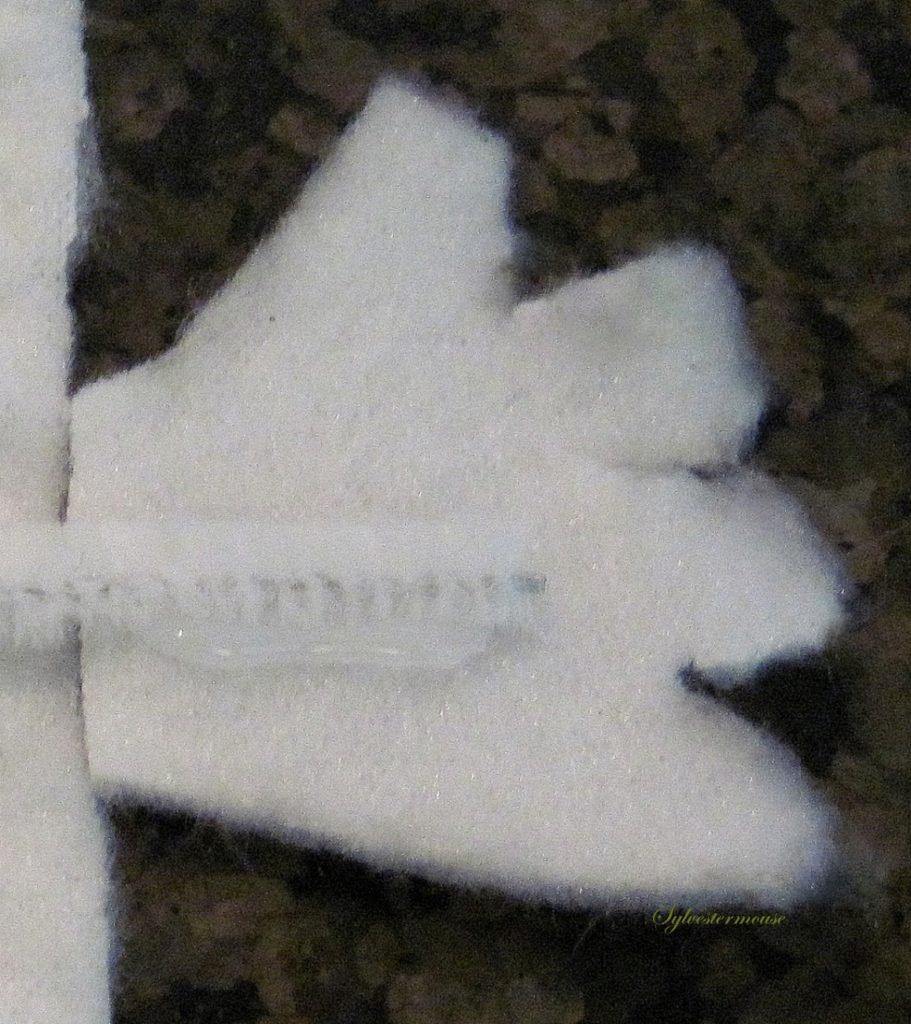
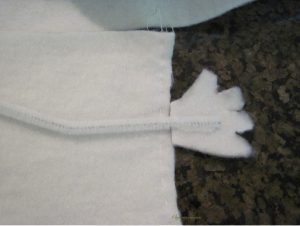 Step 1: Glue tip of White Chenille Stem to one Hand
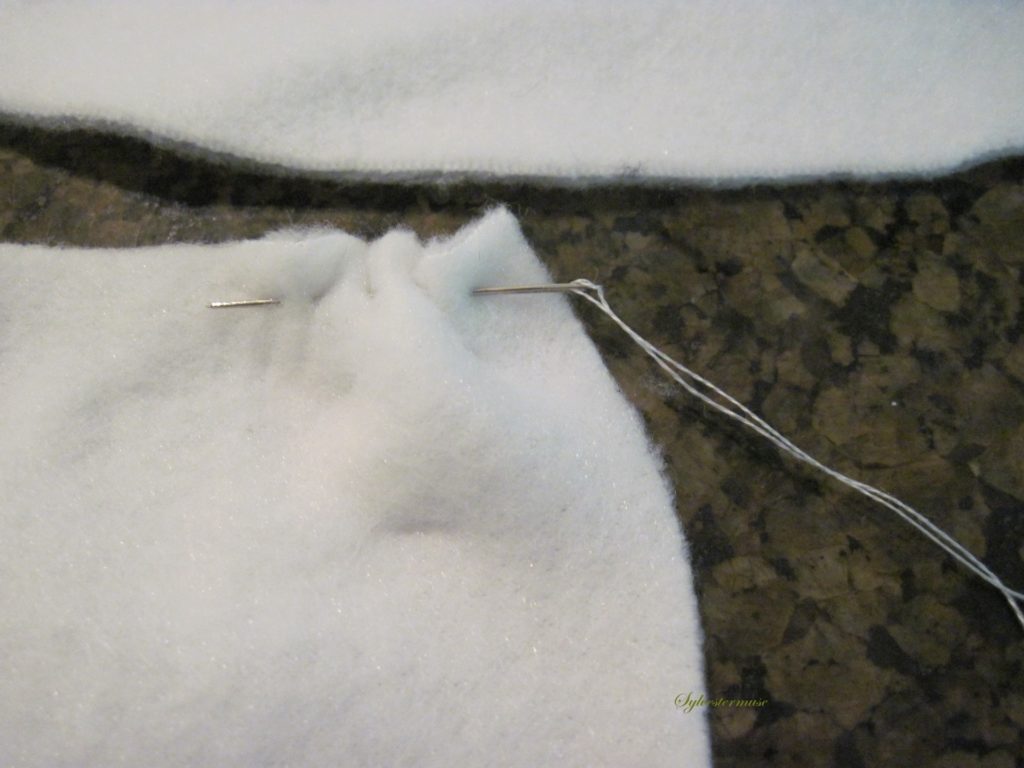
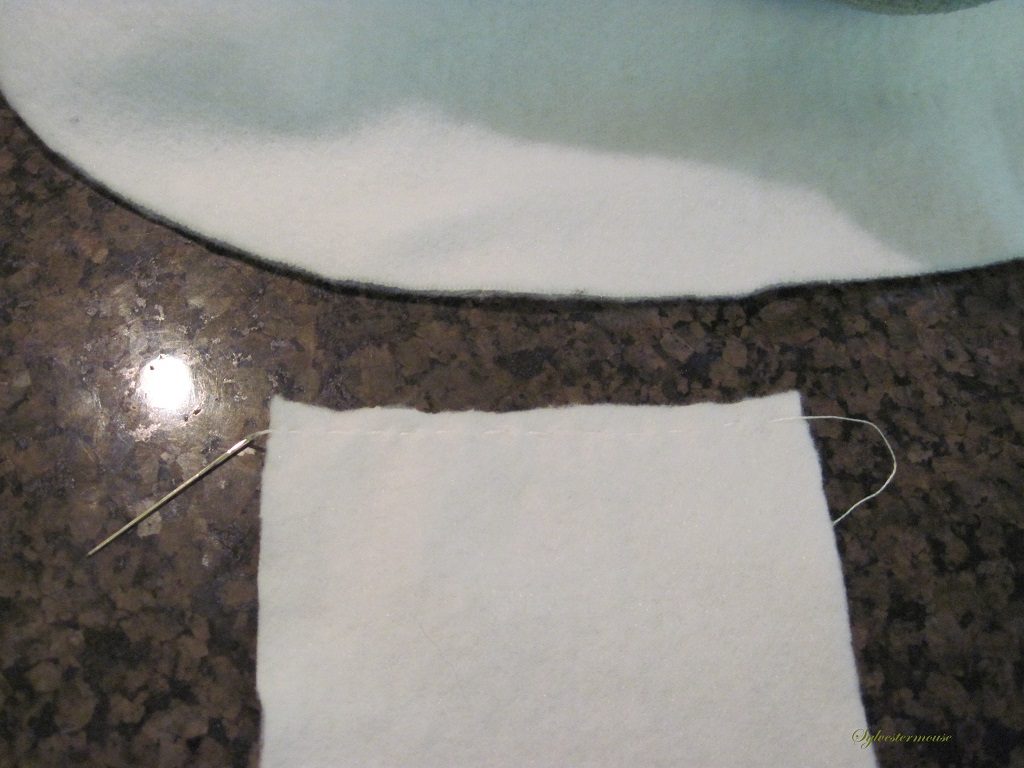
Step 2: Hand Sew a Gathering Stitch in one side of 4″ White Fleece Square.
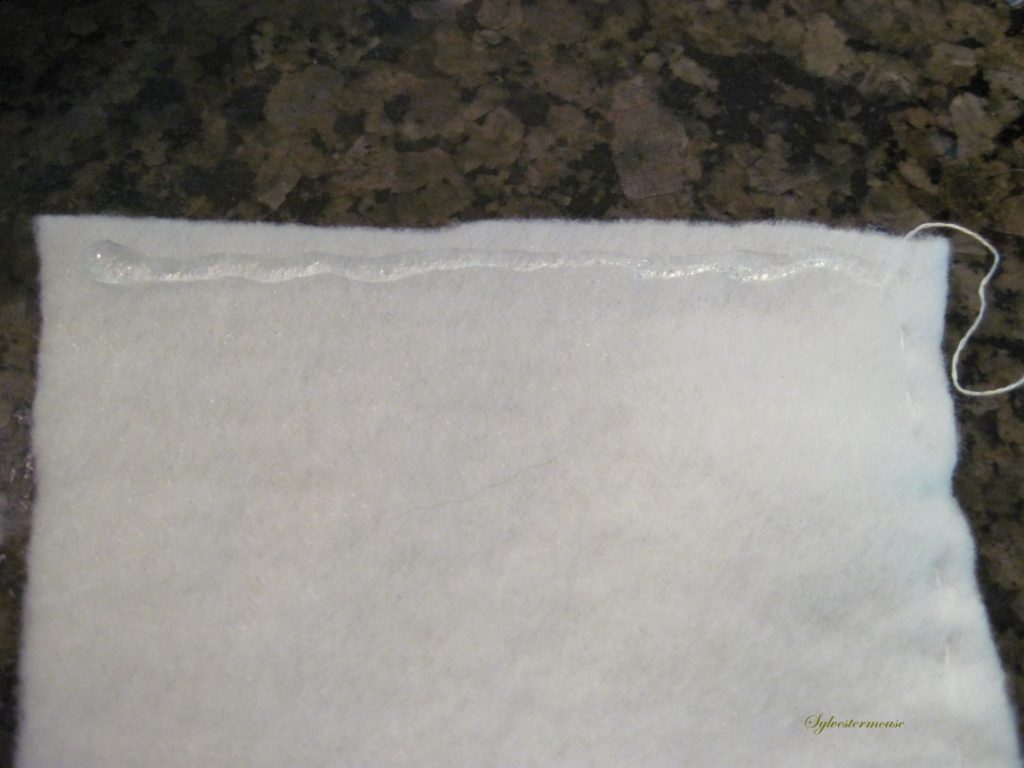
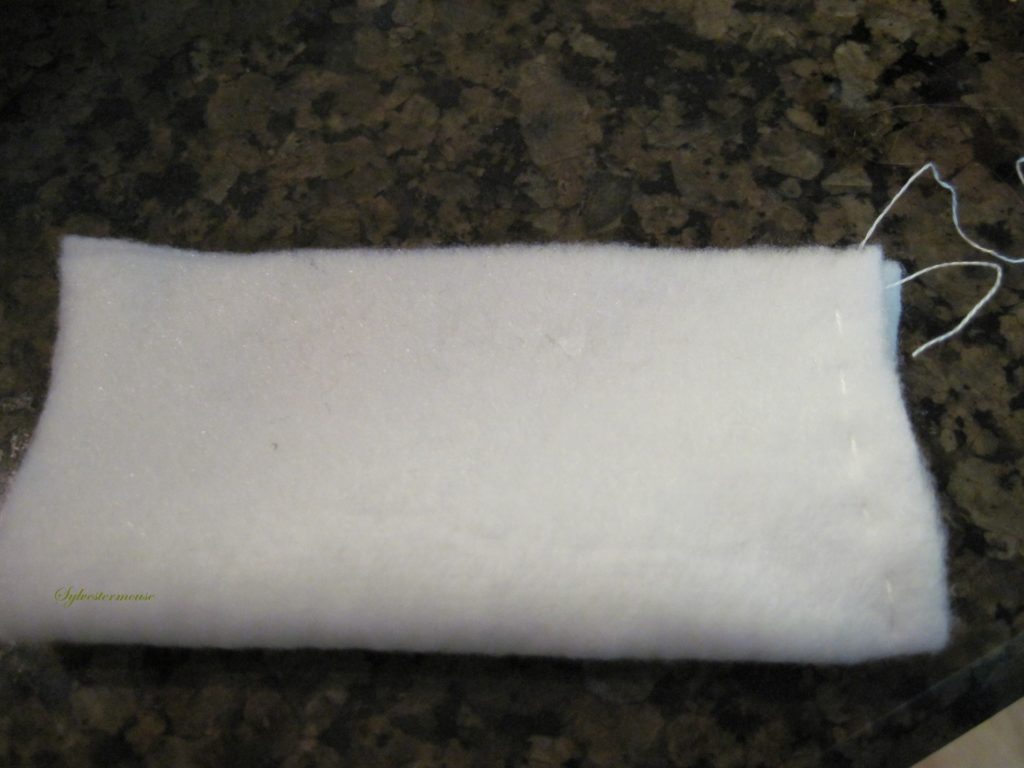
Step 3: Make the Sleeve Seam by Gluing the Top of Fleece Square to the Bottom of the Fleece Square. Be careful to not catch the gathering thread in the glue.
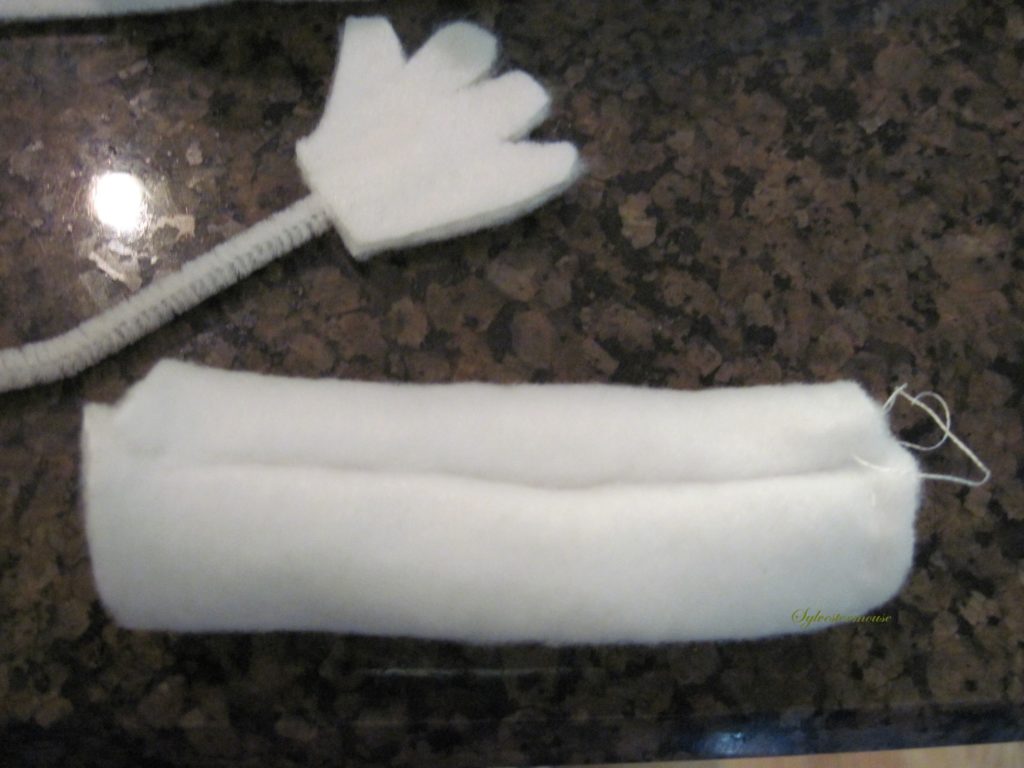
Step 4: Turn Sleeve piece inside out so Glued Seam in on the inside the Sleeve.
Step 5: Place White Chenille Stem with Attached Hand inside Sleeve.
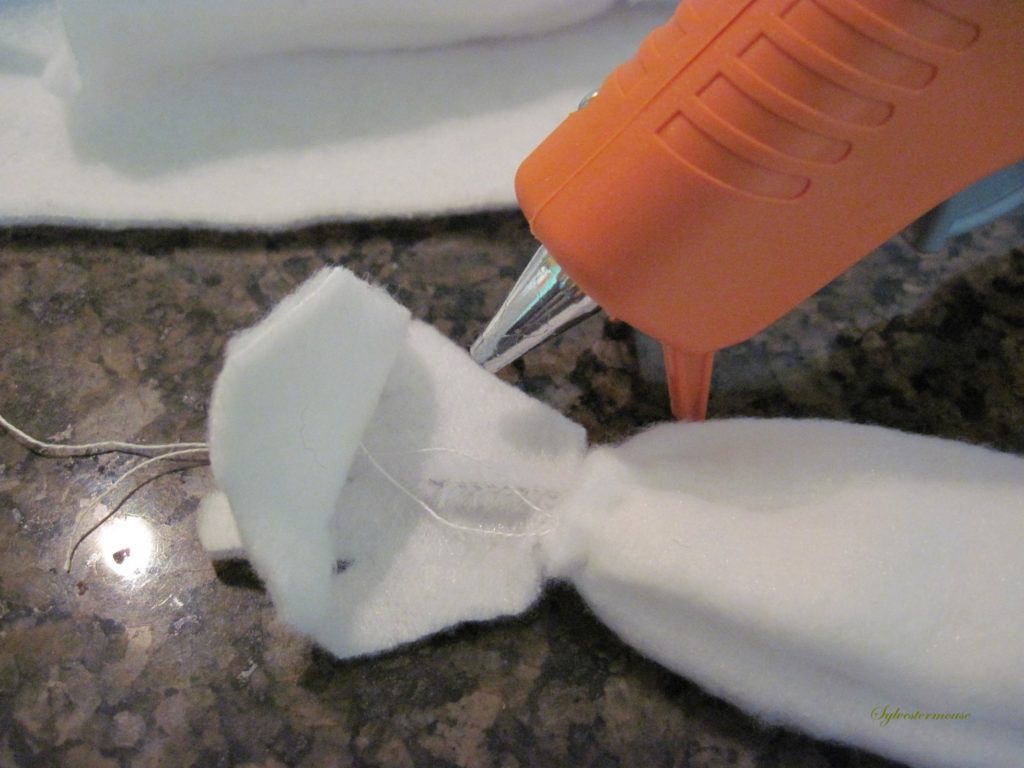
Step 6 Pull Gathering Thread, Gathering Sleeve End around Base of Hand. Tie off Thread.
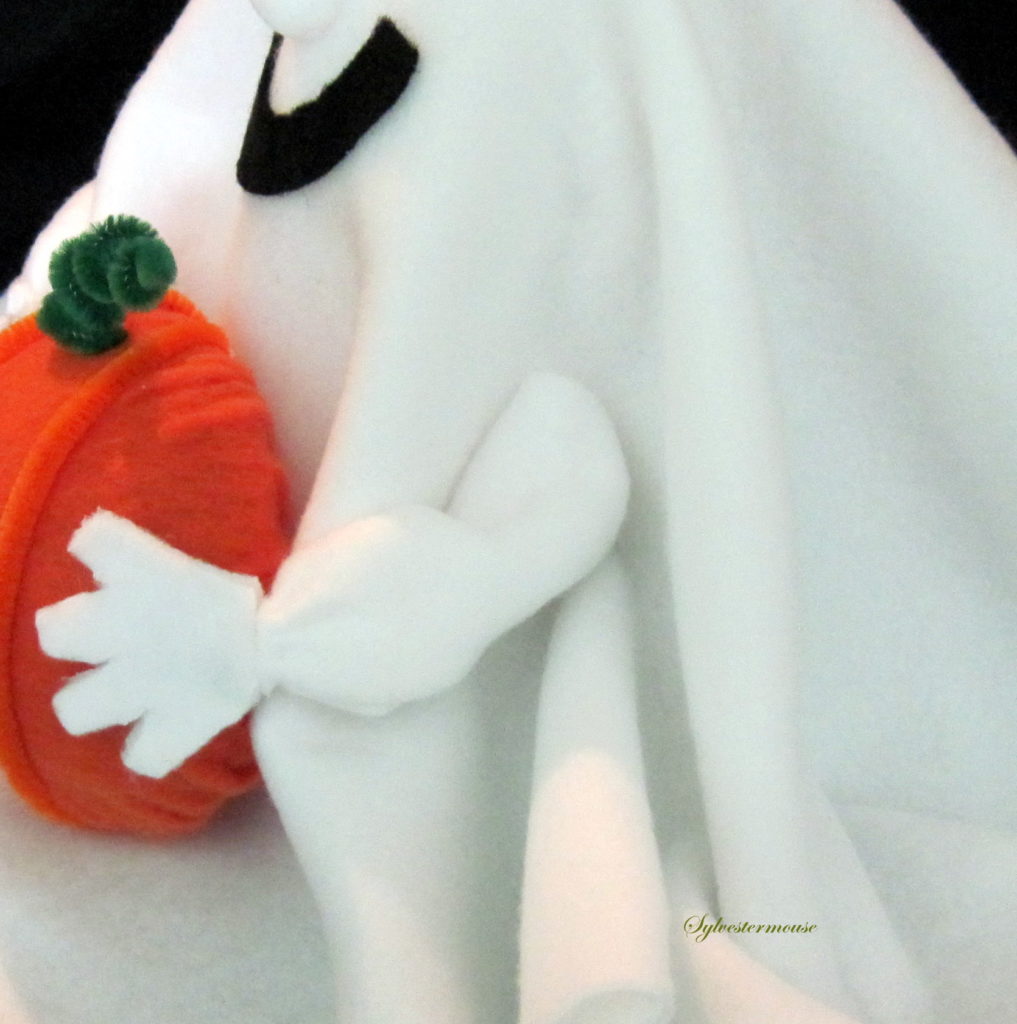
Step 7: With Sleeve Seam Down and Thumb on Hand Pointing Up, Glue the Top Hand Piece over Thread Ends and Chenille Stem to Back Hand Piece. (See Photo Below)
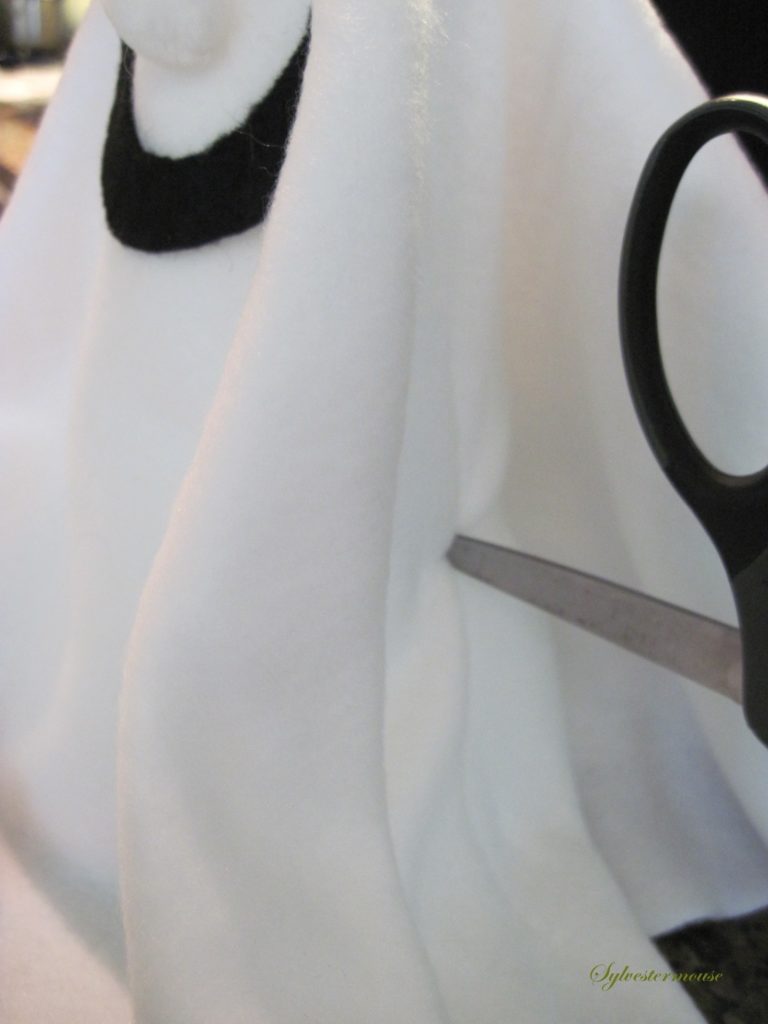
Step 8: Arm Placement on Ghost Body ~ 3½” from bottom of Ghost Body (Cone) ~ Snip small hole in fleece. Poke arm through Hole in Fleece, into Styrofoam Cone Body and glue to secure arm.
Step by Step Photos for Making the Ghost Arms
Make Pumpkin for Halloween Ghost to Hold
Step by Step Photos Follow Written Instructions
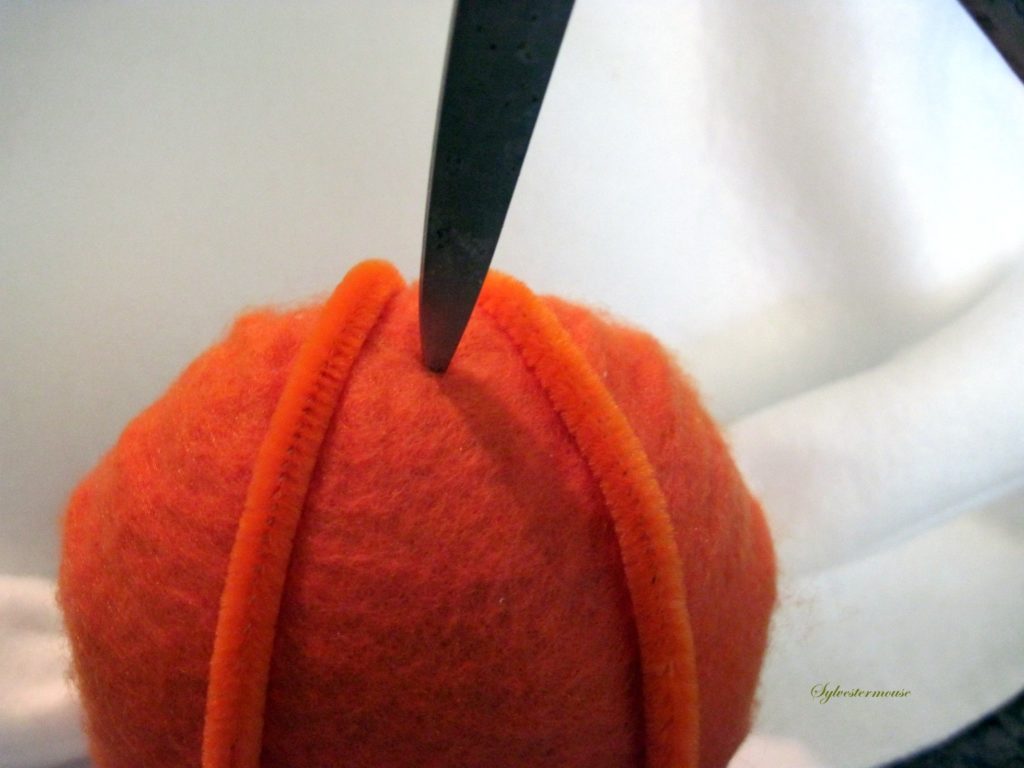
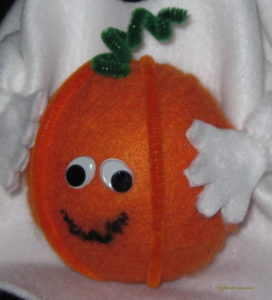 Step 1: Cover Styrofoam Ball half with Orange Felt. Glue Felt Edges on the back of the ball.
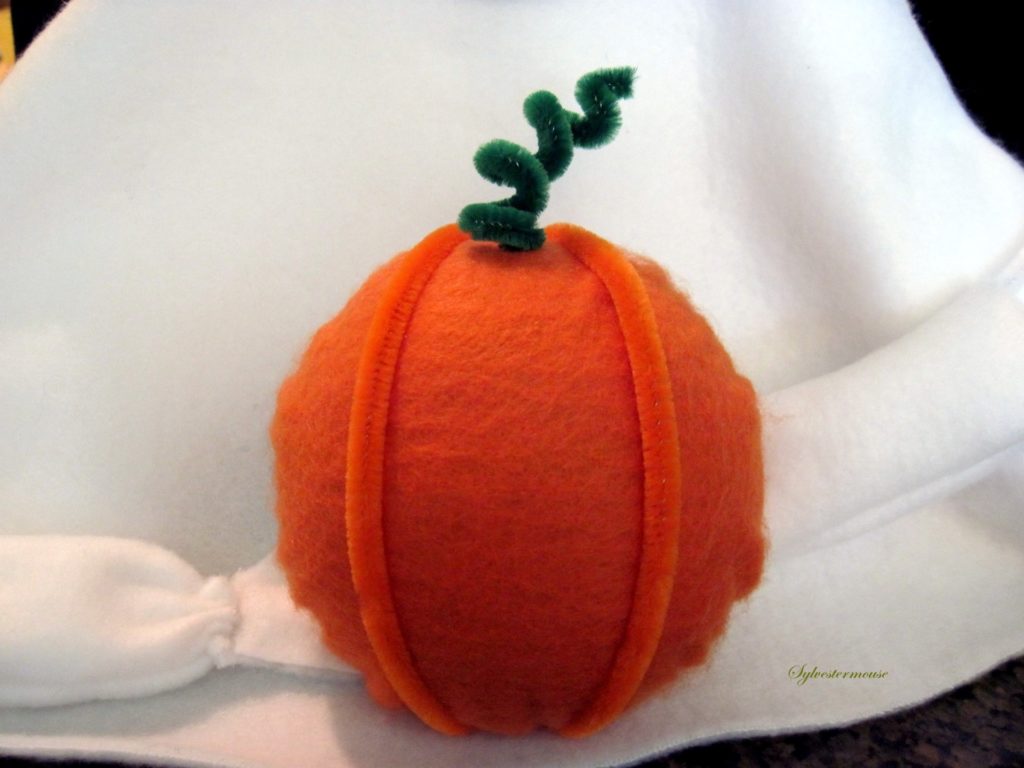
Step 2: Place Orange Chenille Stem across Pumpkin from top to Bottom and Glue Ends of Stems on Back of Pumpkin.
Step 3: Wrap Green Chenille Stem around a pencil and cut to desired length.
Step 4: Glue Green Stem into top of Pumpkin.
Note: May need to poke a small starter hole in felt and Styrofoam Ball for green stem.
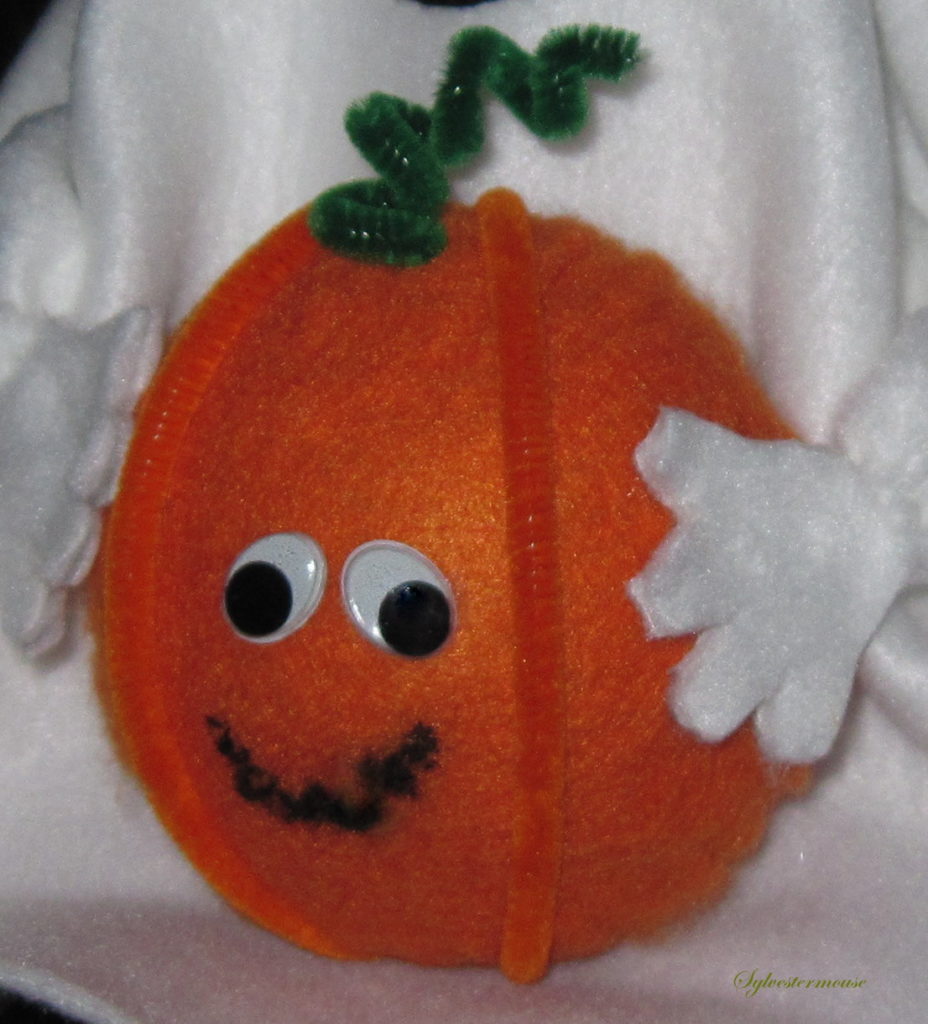
Step 5: Glue on Pumpkin Eyes
Step 6: Draw Mouth on Pumpkin with Black Paint Pen.
Step 7: Glue Pumpkin on the Ghost.
Step 8: Glue One or Two Ghost’s Hands on Sides of Pumpkins
Note: I used a green Styrofoam ball because it is what I had on hand when I made the ghost. The white Styrofoam ball is often less expensive. The green Styrofoam balls are usually for floral arrangements.
Step by Step Photos for Making the Pumpkin for Ghost
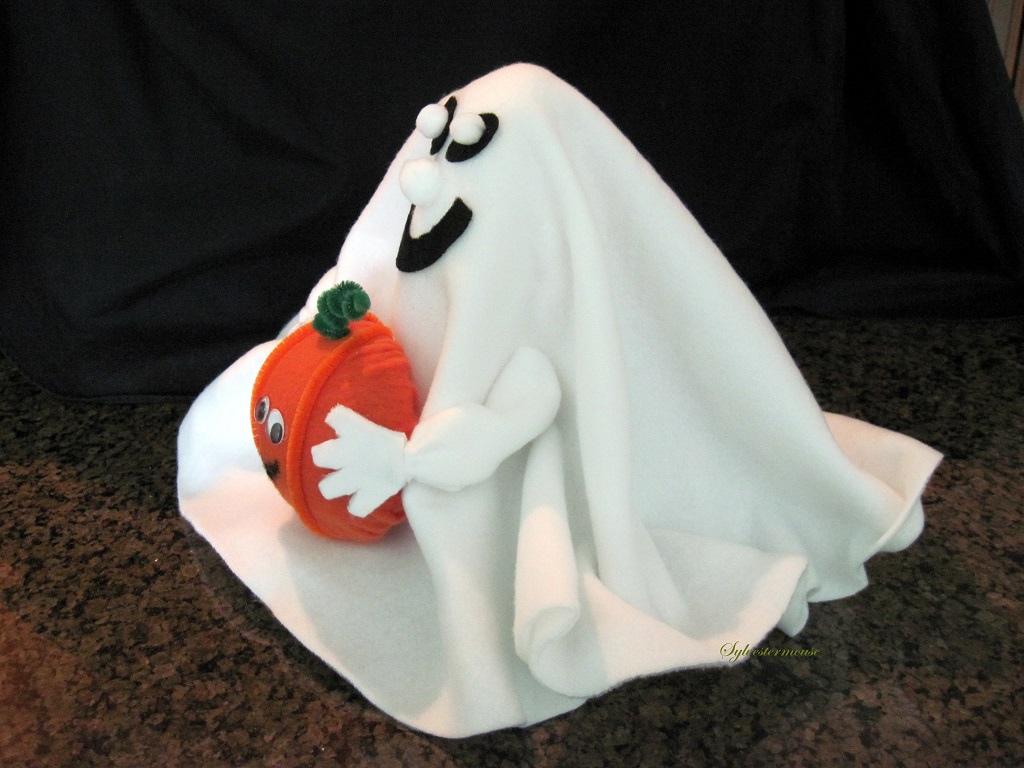
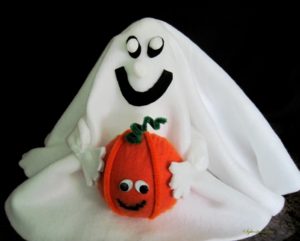
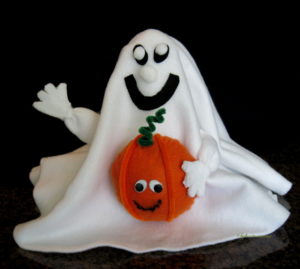
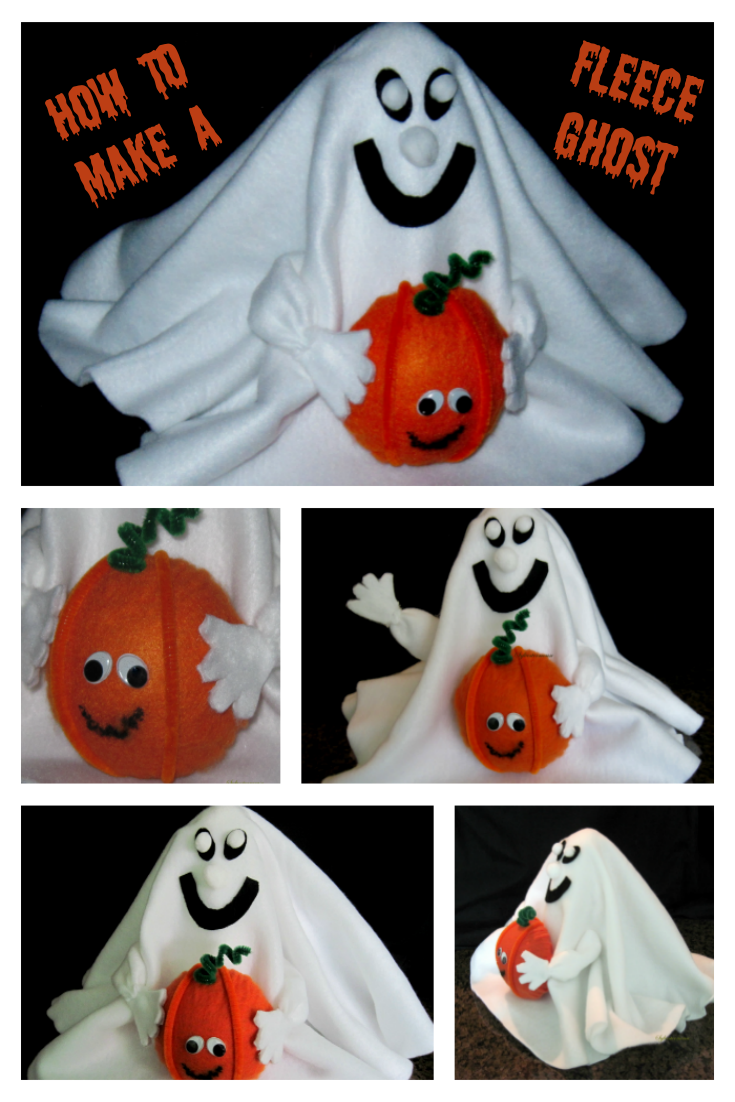
Finished DIY Halloween Fleece Ghost
Which Do You Prefer?
After making several of these Halloween Fleece Ghosts, I have found that some people prefer both hands holding the pumpkin, while others prefer the Ghost waving. So tell me, which one do you prefer?

