How to Make a Halloween Beaded Cross Stitch Pin
Making a Halloween Beaded Pin as a Special Treat for Your Little Trick-or-Treater
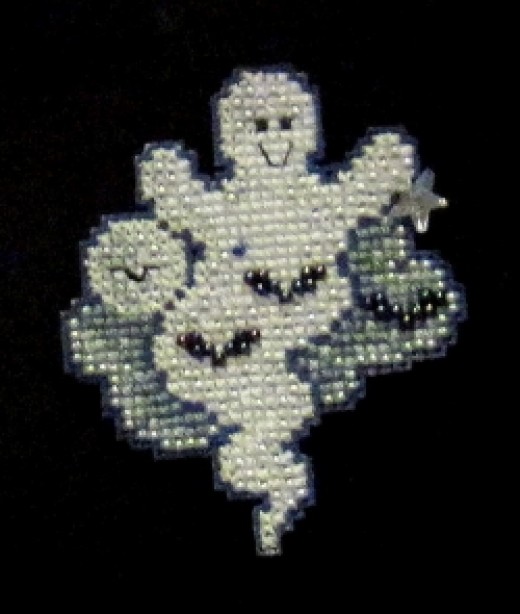
A Halloween beaded cross stitch pin makes a great treat for your special little trick or treater. For me, the special trick or treaters have always been my own children. For my mother, it would be her grandchildren. When I was a little girl, we had a childless couple in our neighborhood who doted on me because I shared the gentleman’s birthday.
Here is a great gift idea for that special someone for this Halloween. It only took a few hours a day for a couple of days to complete and now I have a little homemade gift that will become a treasured keepsake for my someone special.
This kit is a great Cross Stitch beginner kit!
Cross Stitching
 I enjoy making many different types of crafts, but my favorite has to be cross stitch. With just a little piece of Aida cloth, a pattern, some floss and a needle, I can create works of art. I prefer purchasing cross stitch kits because just about everything I need to finish a beautiful piece, is included in the kit.
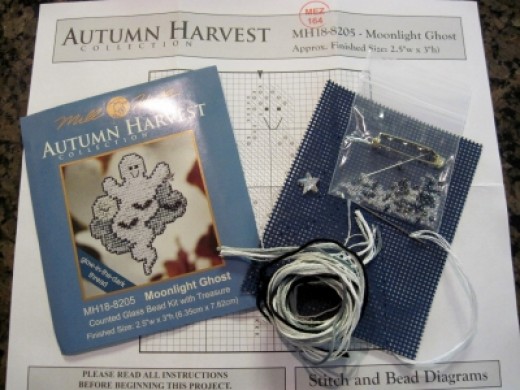
The kit illustrated below is a very easy cross stitch bead Halloween pin. It even has glow in the dark thread which is sure to thrill any child.
I am sharing my step by step photos and instructions. I hope this guide will show you just how easy it is to make this Halloween bead pin and will encourage you to venture into the world of bead cross stitch. I have written this guide with a beginner in mind, but I believe even an experienced cross-stitcher may find valuable tips included in this article.
Simple Cross Stitch Instructions
Supply List for This Cross Stitch Project
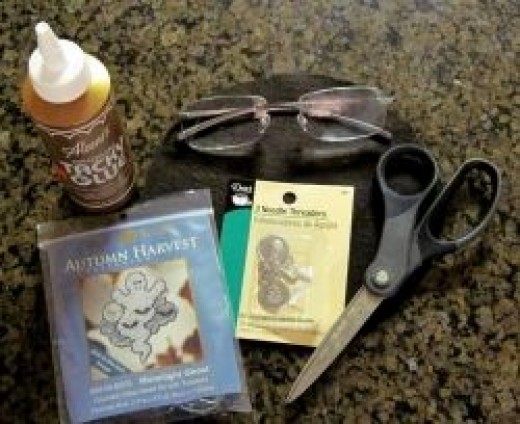 A Bead Cross Stitch Pin Kit ~ includes floss, beads, 2 needles and thick, heavy fabric for cross stitch.
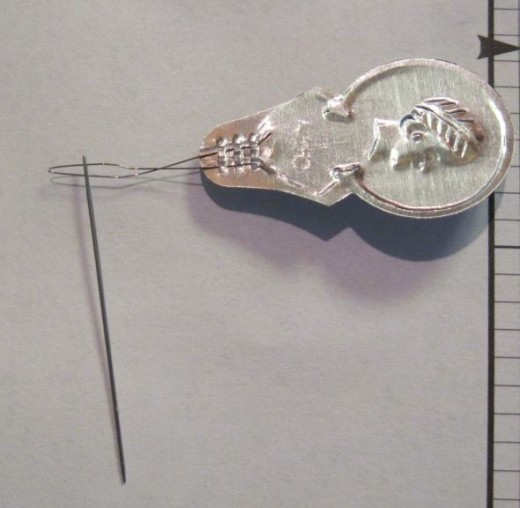
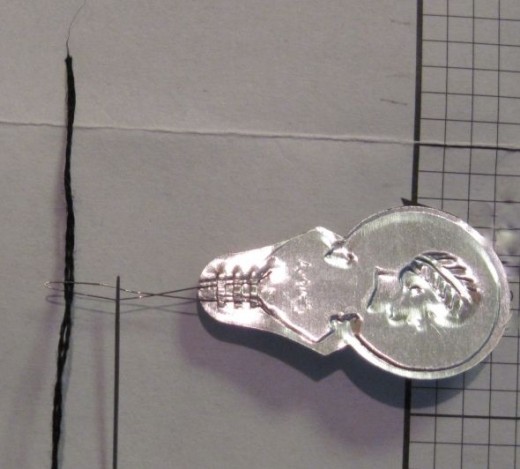
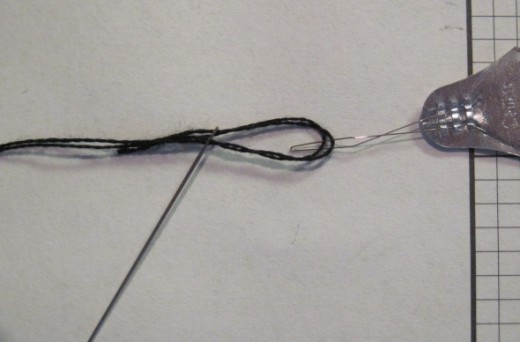
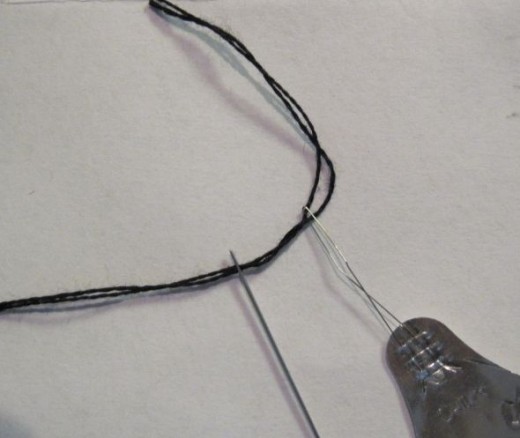
- Needle Threader ~ I usually do not need a needle threader, but with a small beading needle, it is necessary.
- Magnifying Glasses or Magnifier
- Scissors
- Felt Square
- Craft Glue
A Close Look at What is Inside the Cross Stitch Kit
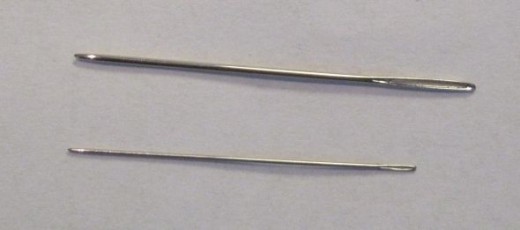
Two Needles Are Included In the Kit
GUIDE FOR MAKING A HALLOWEEN BEAD CROSS STITCH PIN
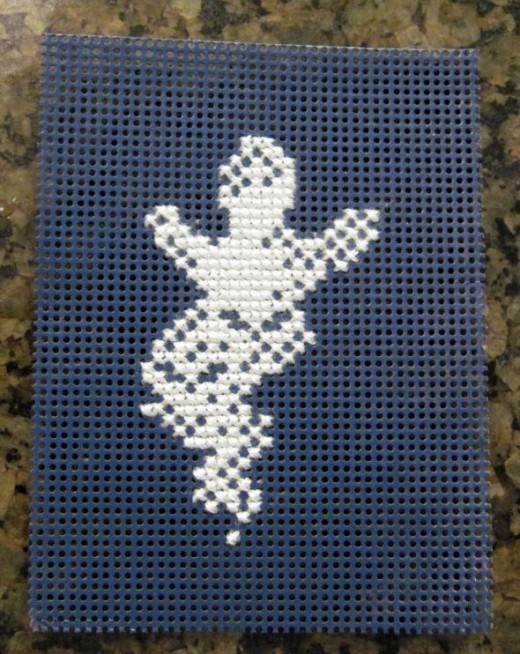
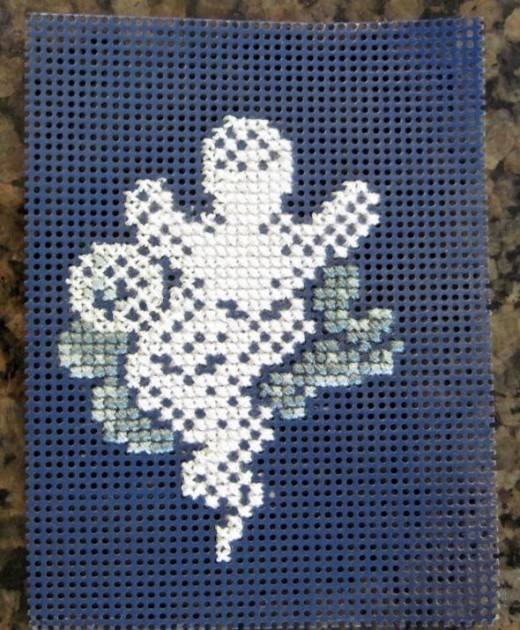
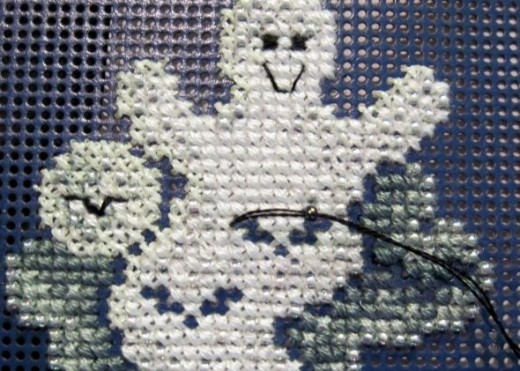
Step One ~ Using 3 strands of white floss, cross stitch all of the white floss in the body of the ghost
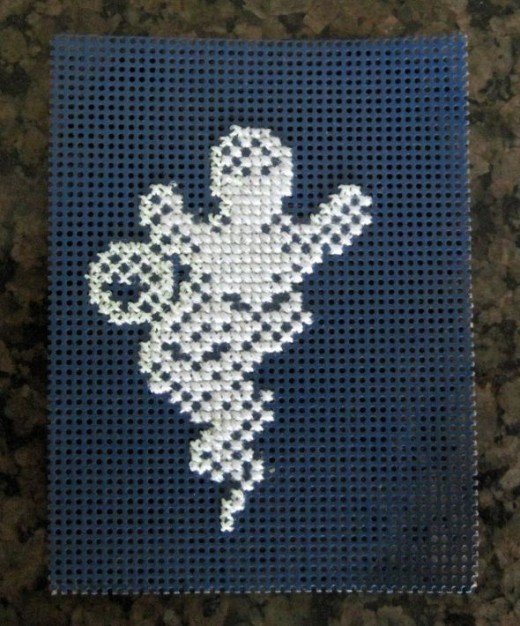
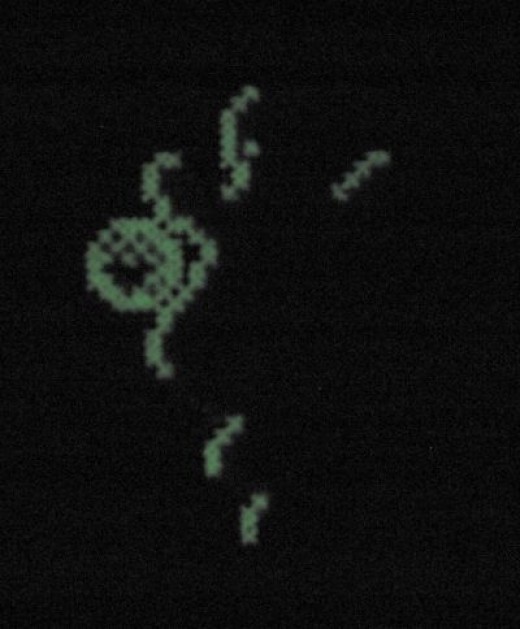
Step Two ~ Cross stitch the Glow in the Dark braid floss. – This braid is meant to be thick and should not be separated into single strands
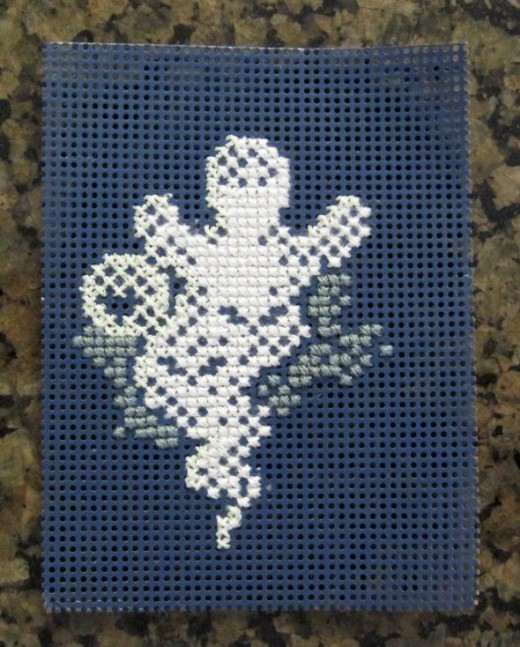
Step Three ~ Following the pattern, cross stitch the Dark Gray Floss. 3 strands of floss should be used.
Step Four ~ Cross stitch the Light Gray floss using 3 strands.
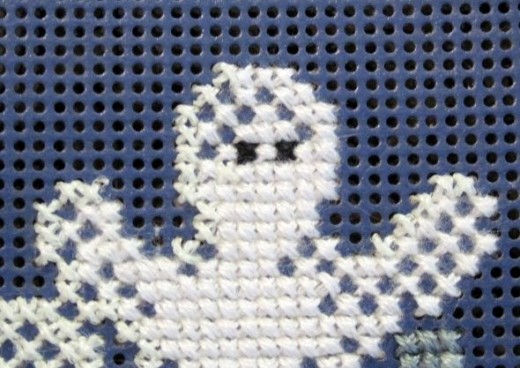
Step Five ~ Cross stitch Black Eyes with 3 strands of floss
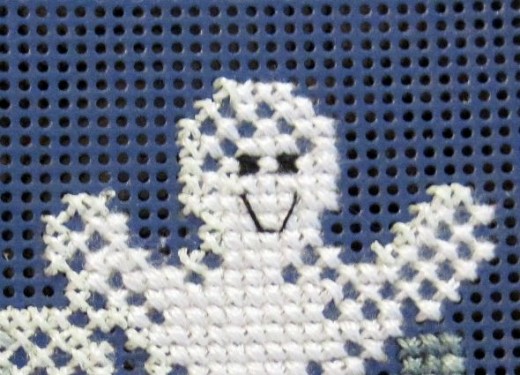
Step Six ~ Backstitch Ghost’s smile with a single strand of black floss.
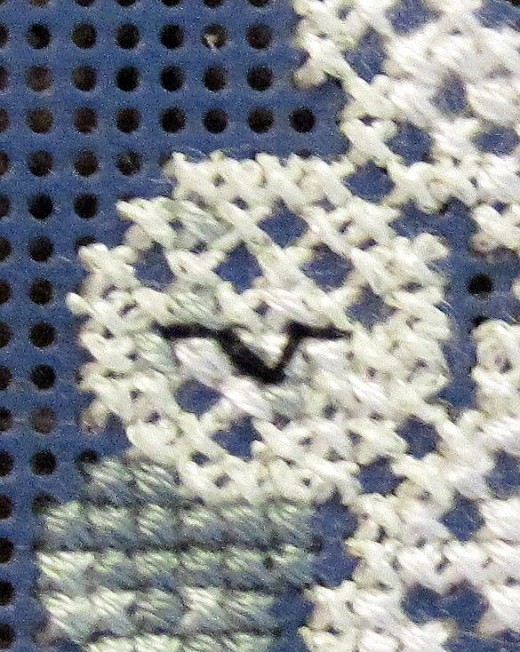
Steps Seven and Eight ~ Cross stitch the 7 white stitches in the Moon with 3 strands of white floss and Backstitch the Black Bat
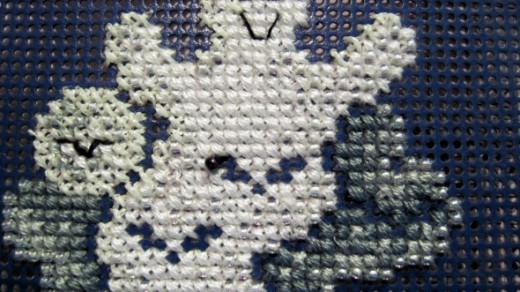
Step Nine ~ Attach First Set of Petite Crystal Beads using 2 Strands of White Floss
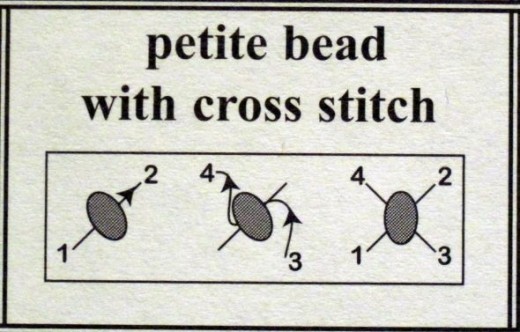
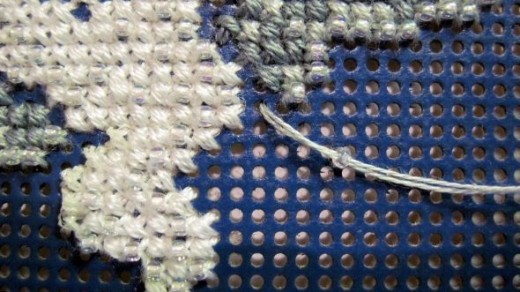
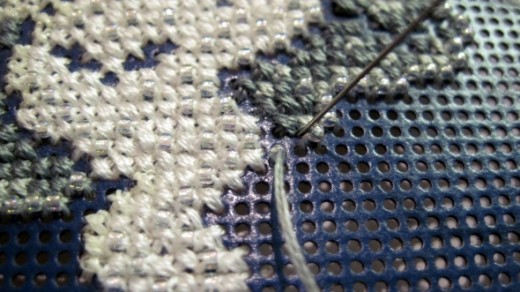
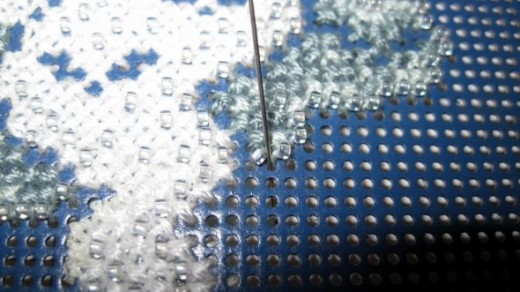
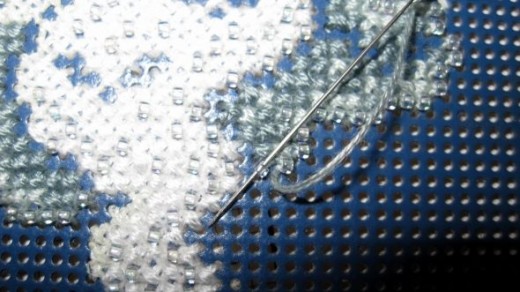
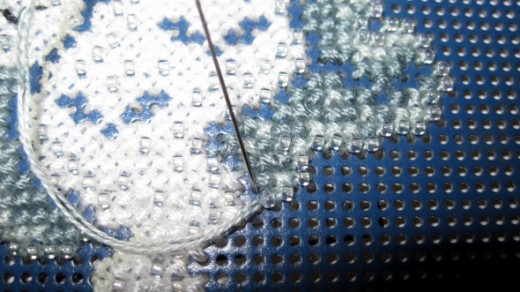
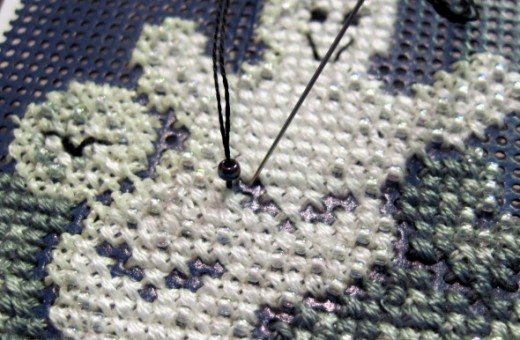
Change to the smaller eyed bead needle included in the kit. Using 2 strands of white floss, cross stitch the Petite Crystal Beads into place. A graph showing how to cross stitch beads is included below. Do not be discouraged. It looks and sounds harder than it really is. Try it! You will see how easy it really is to properly attach a bead with a cross stitch.
Diagram Showing How to Attach a Petite Bead with Cross Stitch
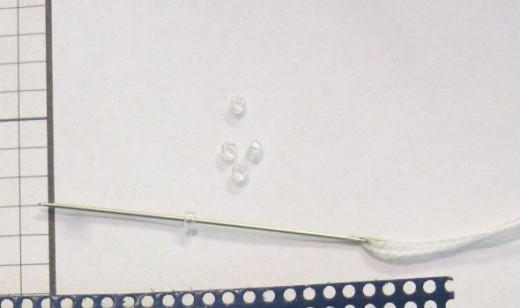
Step by Step Photos Showing How to Attach Petite Crystal Beads
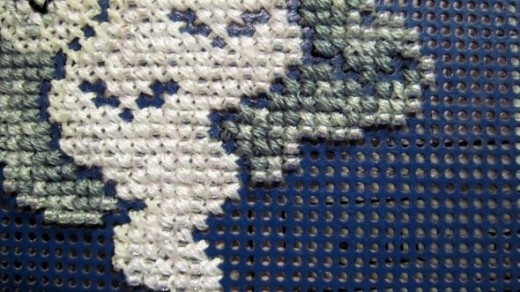
Photo with First Set of Beads Complete
Step Ten ~ Attach 2nd Set of Petite Crystal Beads with 2 Strands of Gray Floss
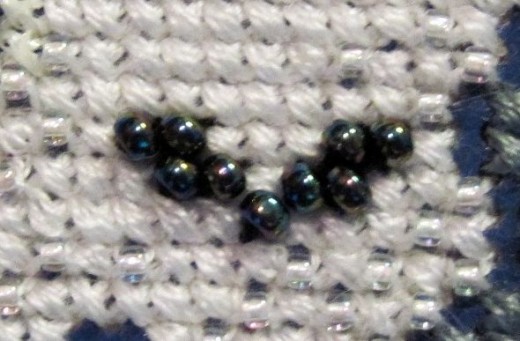
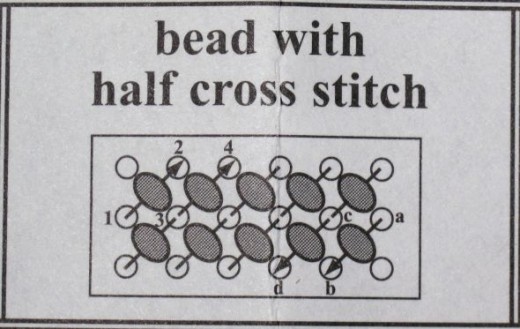
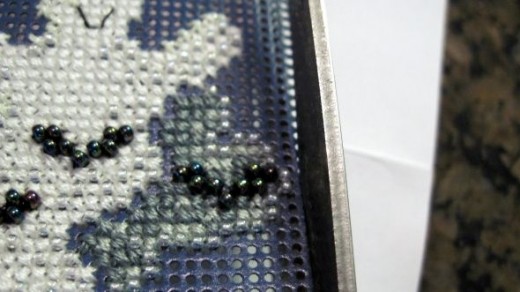
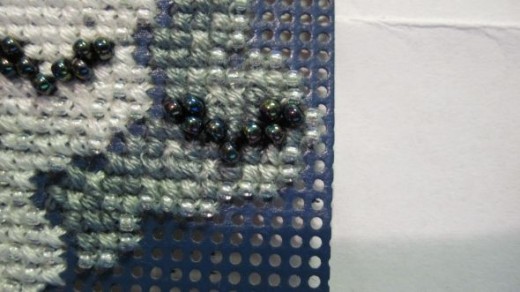
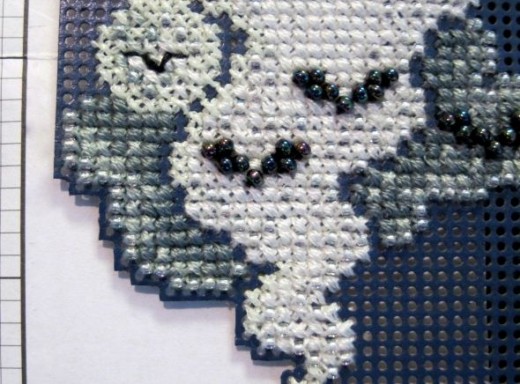
Step Eleven ~ Make the 3 Bats by Attaching the Rainbow Beads with 2 Stands of Black Floss using a Half Cross Stitch – Half Cross Stitch Diagram Below Photo
Diagram to Attach Bead With Half Cross Stitch
Step By Step Photos of Attaching a Bead with Half Cross Stitch
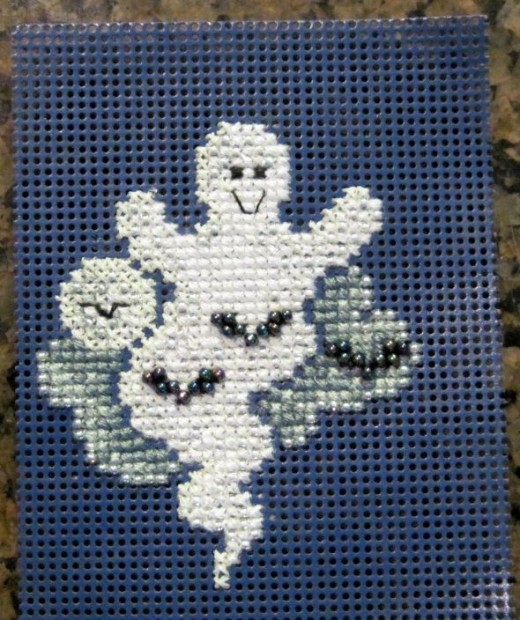
Photo of Three Rainbow Bead Ghosts Completed
Step Twelve
Take Your Time, Cut Slowly and Be Extremely Careful.
It Would be Very Easy to Destroy Your Work If You Make A Cutting Mistake
Step Twelve ~ Cut Out the Shape ~ One Hole Outside of the Stitched Area
Close Up Photo of Cut Edge
Photo of Staggered Cut Edge
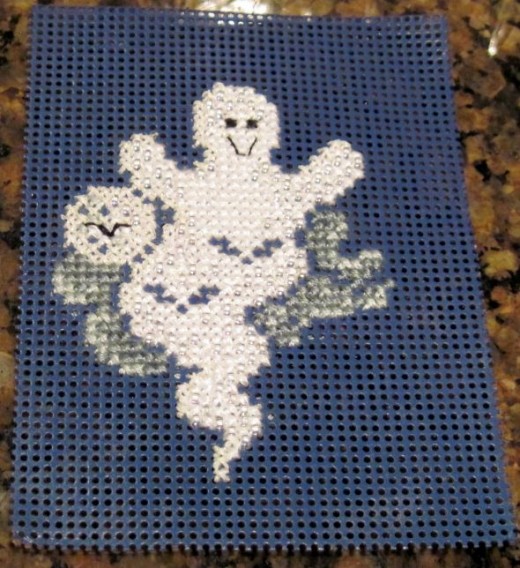
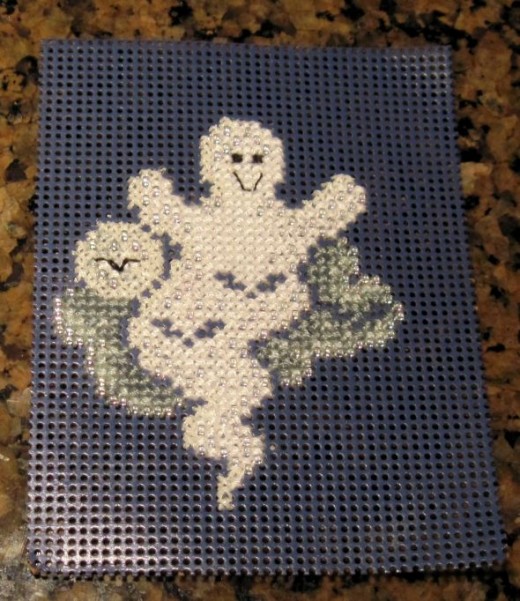
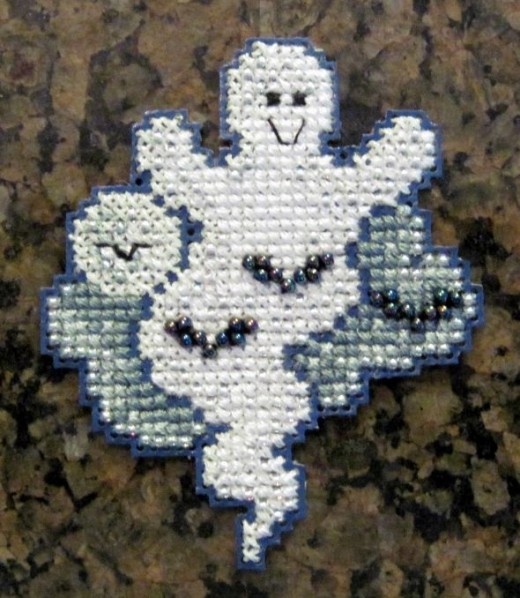
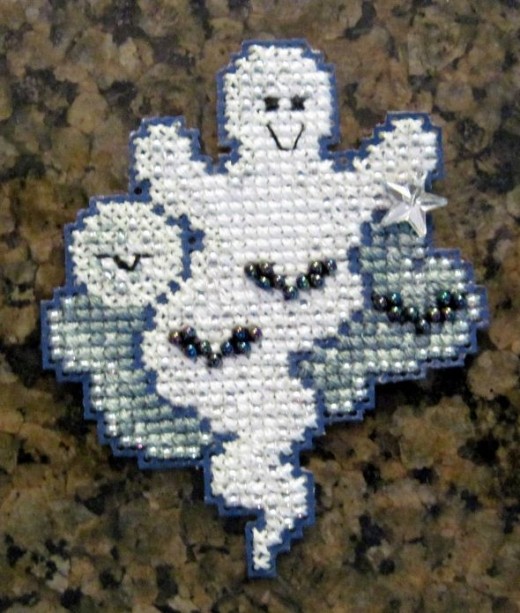
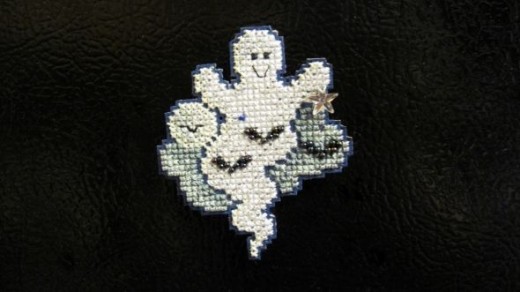
Cross Stitch and Beading Completed on Cut Out Shape
Step Thirteen ~ Attach Star Treasure with Single Strand of White Floss
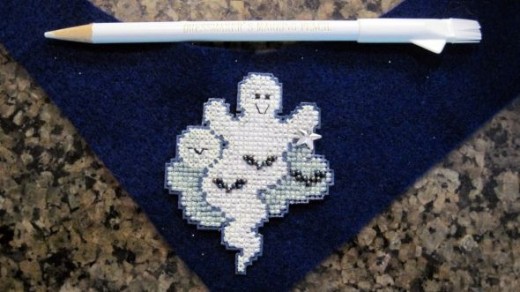
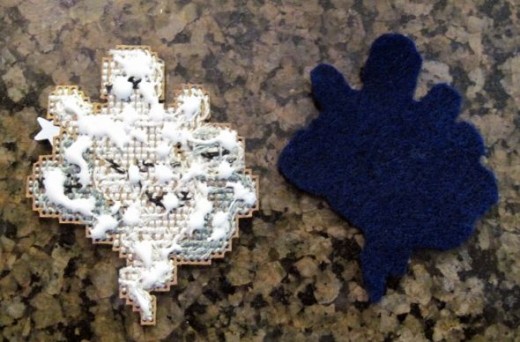
Step Fourteen ~ Trace and Cut Out Felt Backing – Trace Around Edges with a Dressmakers Marking Pencil
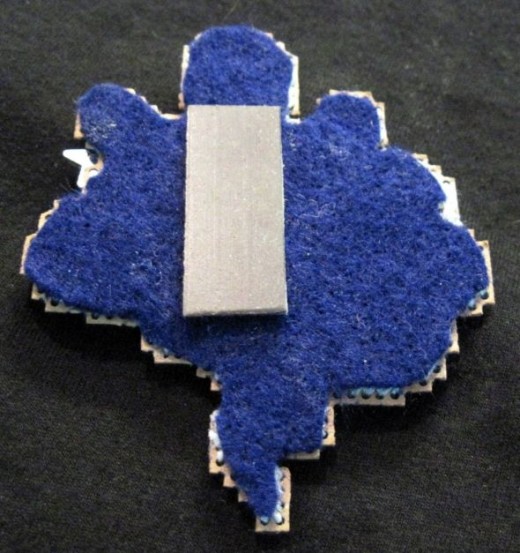
Step Fifteen ~ Glue Backing on Back of Stitched Piece
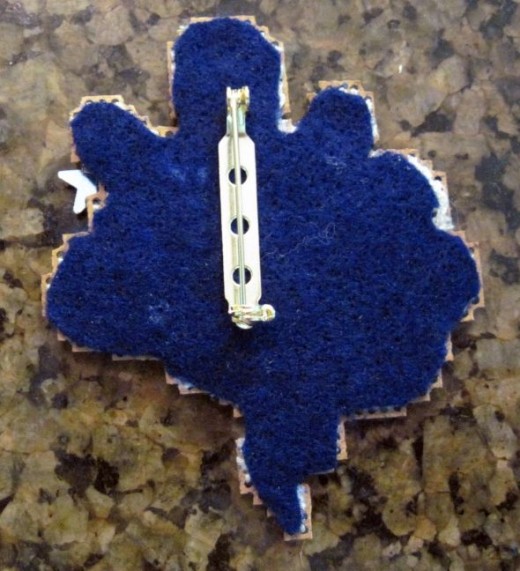
Step Sixteen ~ Attach Pin Fastener with Glue
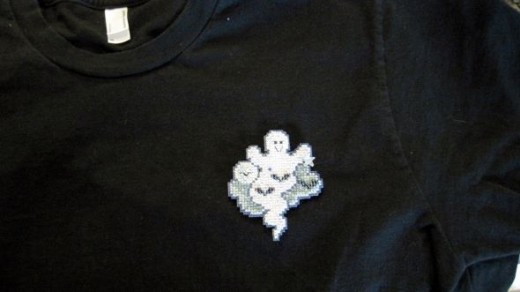
Wear Bead Pin
Another Option ~ Glue on Magnet Instead of Pin
Refrigerator Magnet Shown on Side of Refrigerator
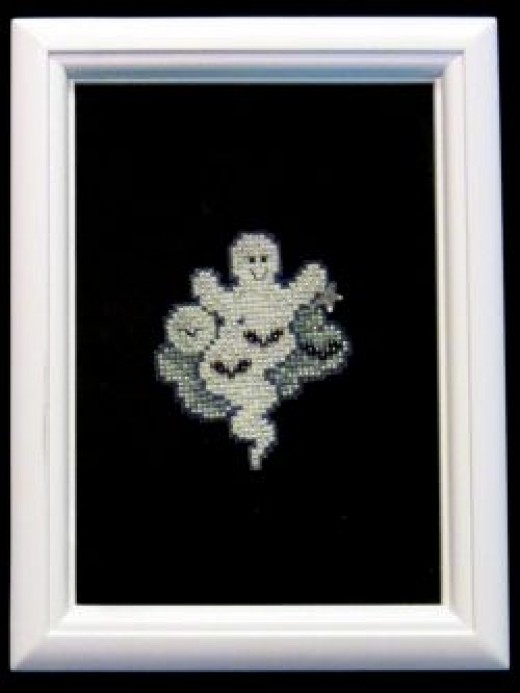
Frame Your Bead Cross Stitch Shape

Glow In The Dark Photo
Buy Your Bead Ghost Pin Kit Today!
Moonlight Ghost Beaded Counted Cross Stitch Halloween Ornament Kit Mill Hill 2008 Autumn Harvest MH18-8205Check PriceEssence Ghost Beaded Halloween Cross Stitch Kit Mill Hill 2017 Ghost Trilogy MH191723Check PriceBoo Ghost Beaded Counted Cross Stitch Halloween Ornament Kit Mill Hill 2006 Autumn Harvest MH18-6202Check Price
Lamp with Magnifier and Magnifier Glasses
Fuisetaea Photochromic Gray Reading Glasses for Women Men +2.75 StrengthCheck Price10X Magnifying Glass with Light and StandCheck Price
Step By Step Photos of Using a Needle Threader
Dritz 3-Piece Needle ThreadersCheck Price



3 Comments
Halloween Every Day
You share a lot of good instructions for doing a Halloween-themed beaded cross stitch! – Brenda
Rose
Delightful! What a fun way to celebrate Halloween.
Pingback: